How to Design a Logo in Photoshop
Designing a captivating logo in Photoshop can be a rewarding and creative process. Whether you’re a seasoned designer or just starting out, mastering the art of logo creation in this powerful software can open up a world of possibilities. In this comprehensive blog post, we’ll guide you through how to design a logo in Photoshop.
1) Setting the Stage: How to Design a Logo in Photoshop.
The first step in your logo design journey is to set up the Photoshop canvas with the appropriate resolution and dimensions. This ensures that your final design will be crisp, clear, and ready for various applications, from digital displays to printed materials. Once you’ve chosen the page resolution, it’s time to create a new document and let the creative magic begin.
2) Laying the Typographic Foundation
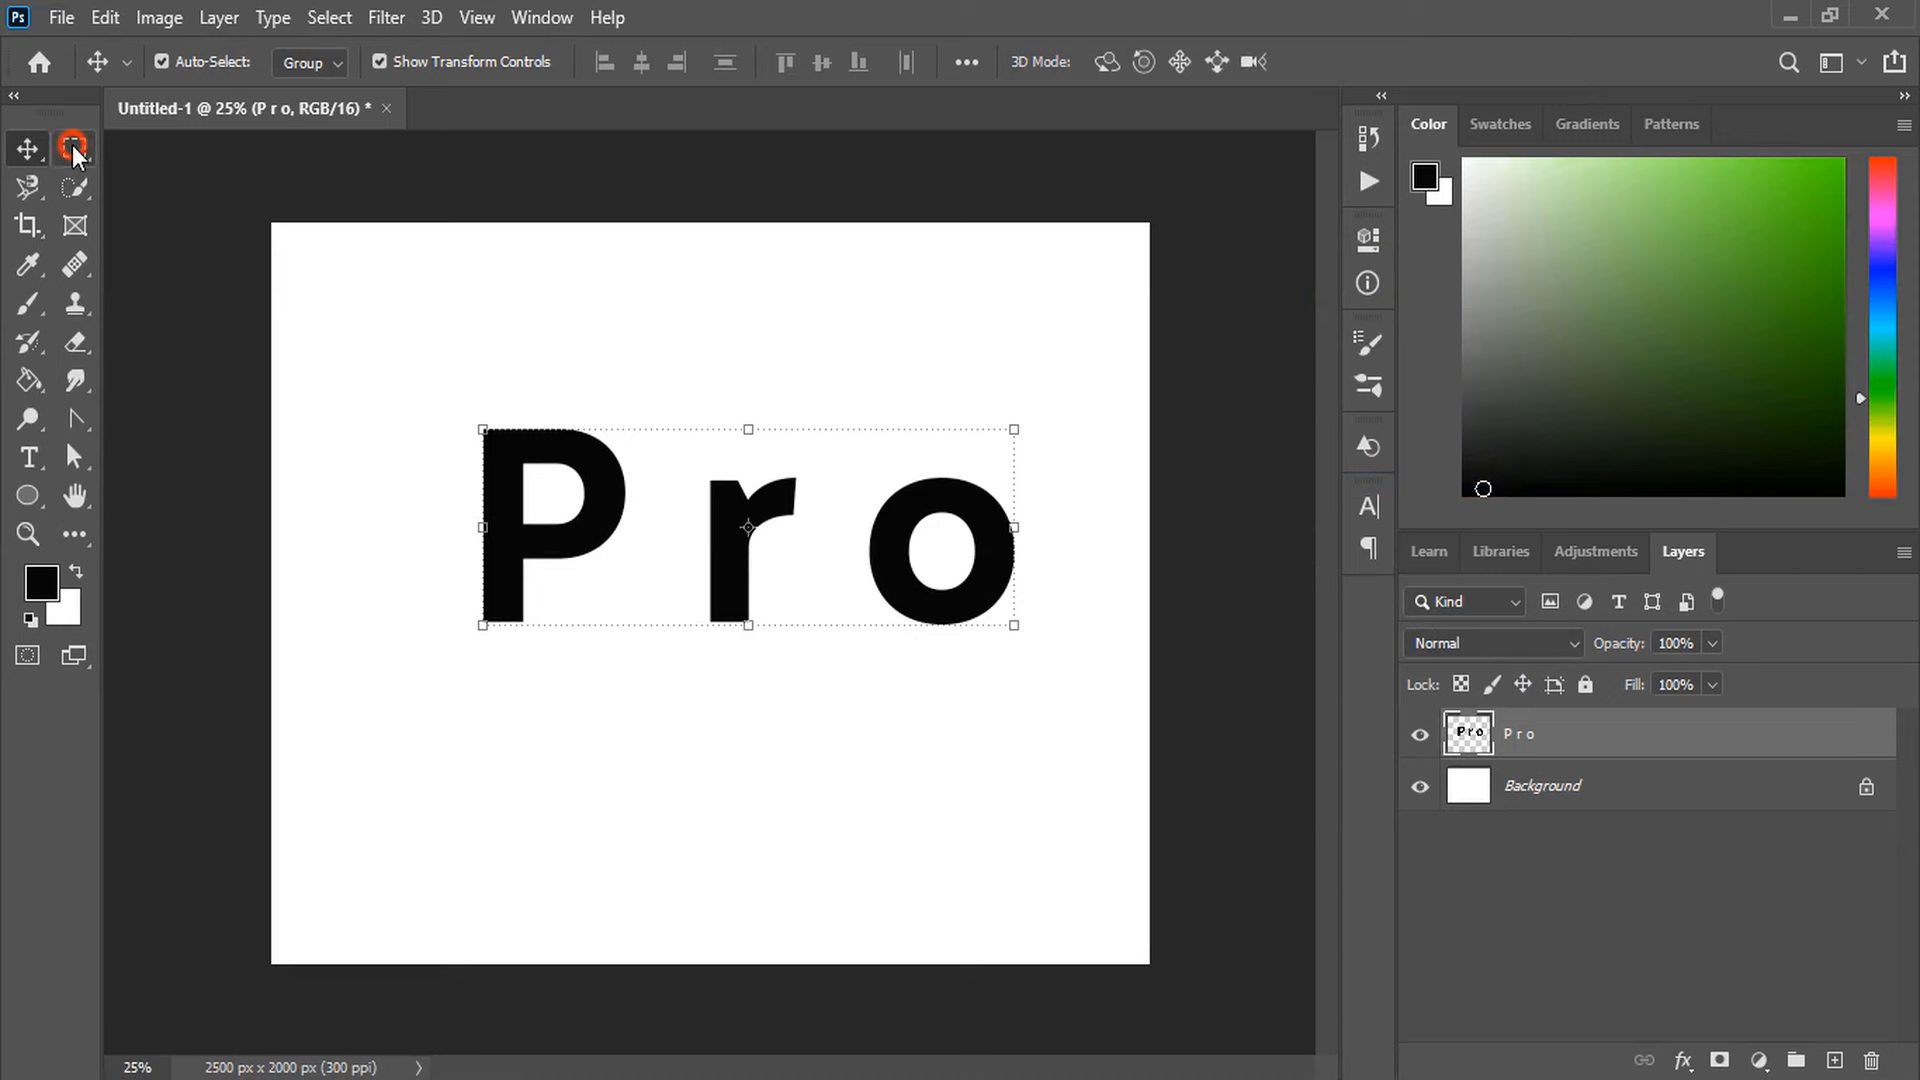
Typography is a crucial element in logo design, as it conveys the essence of your brand through the written word. Start by selecting the Text tool from the toolbar and typing out your desired text. Experiment with different font styles, sizes, and placements to find the perfect balance and visual harmony.
Once you’re satisfied with the initial text placement, it’s time to rasterize the text layer. This process converts the editable text into a pixel-based image, allowing you to manipulate the individual elements more freely. After rasterizing, you can separate the individual letters by right-clicking and cutting them, creating a more dynamic and customizable layout.
3) Crafting Organic Shapes and Curves
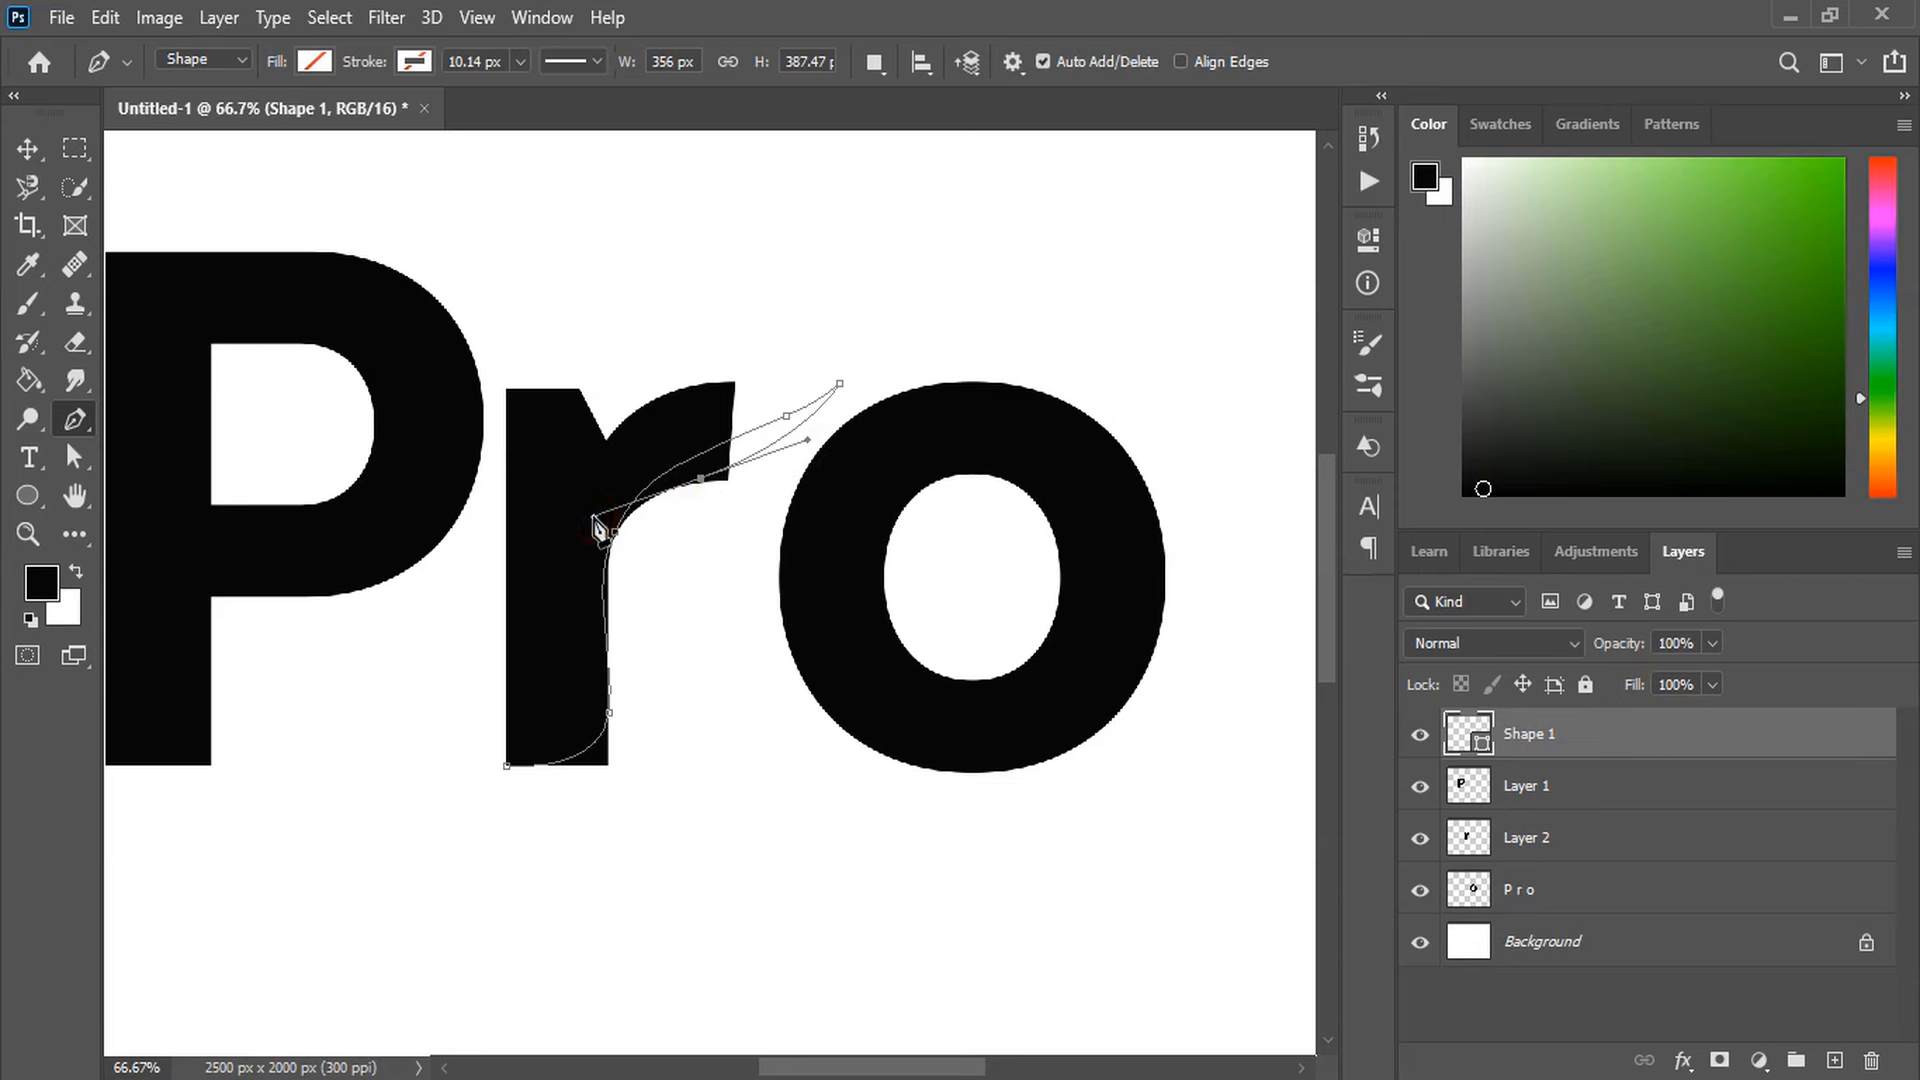
To add depth and visual interest to your logo, incorporate organic shapes and curves. Using the Pen tool, you can draw plant-inspired shapes and leaves that seamlessly integrate with the typography. By following the contours of the letter “R,” you can create a cohesive and harmonious design.
Mastering the control of the curve handles using the Alt key allows you to fine-tune the shape and flow of your organic elements. Once you’re satisfied with the overall shape, close the path and fill it with a color that complements the typography.
4) Refining the Design: Removing and Reshaping Elements
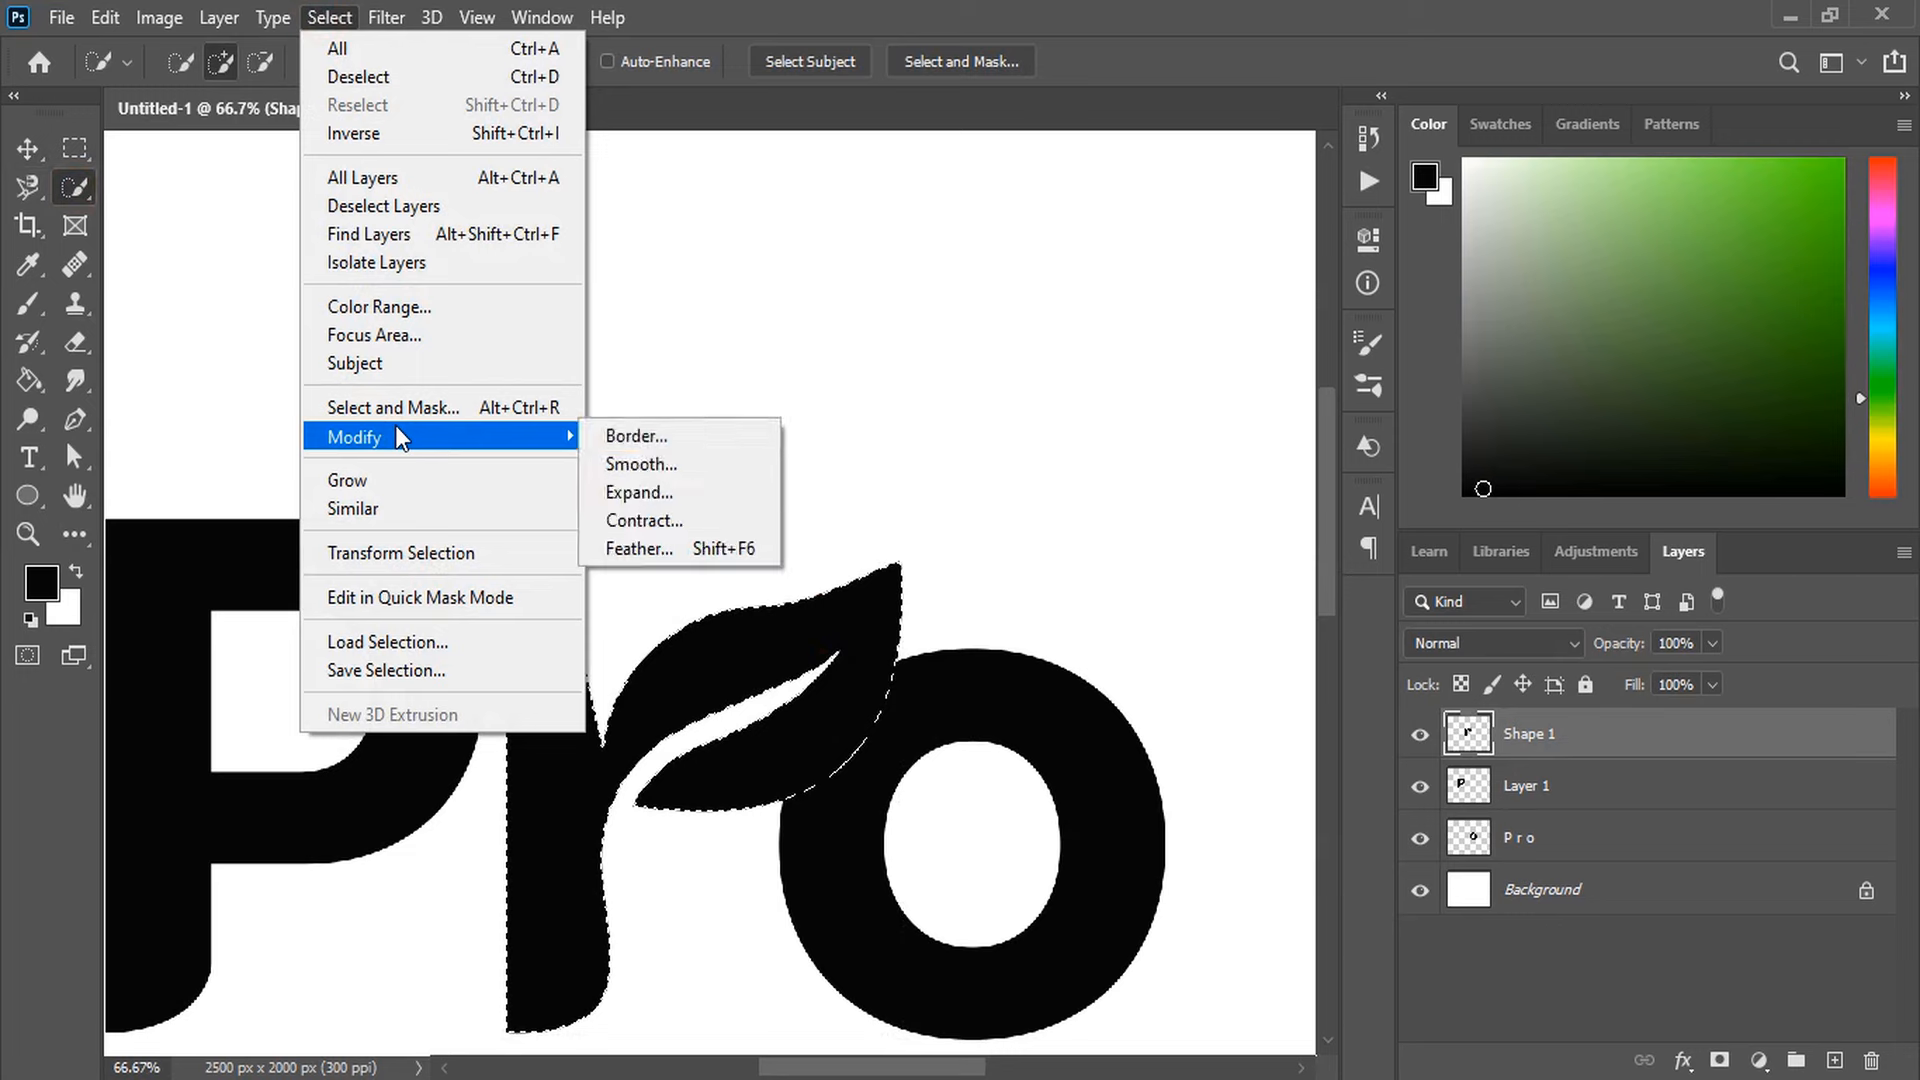
As you continue to refine your logo design, you may need to remove or reshape certain elements to achieve the desired balance and visual impact. Using the Pen tool, you can draw additional curves and shapes that enhance the overall composition. Remember to rasterize the layers to ensure you can make further adjustments.
When creating gaps or spaces within the design, be mindful of the proportions and use the Select and Expand tools to maintain the desired visual harmony. This attention to detail will elevate your logo design and make it stand out.
5) Infusing Color and Gradients
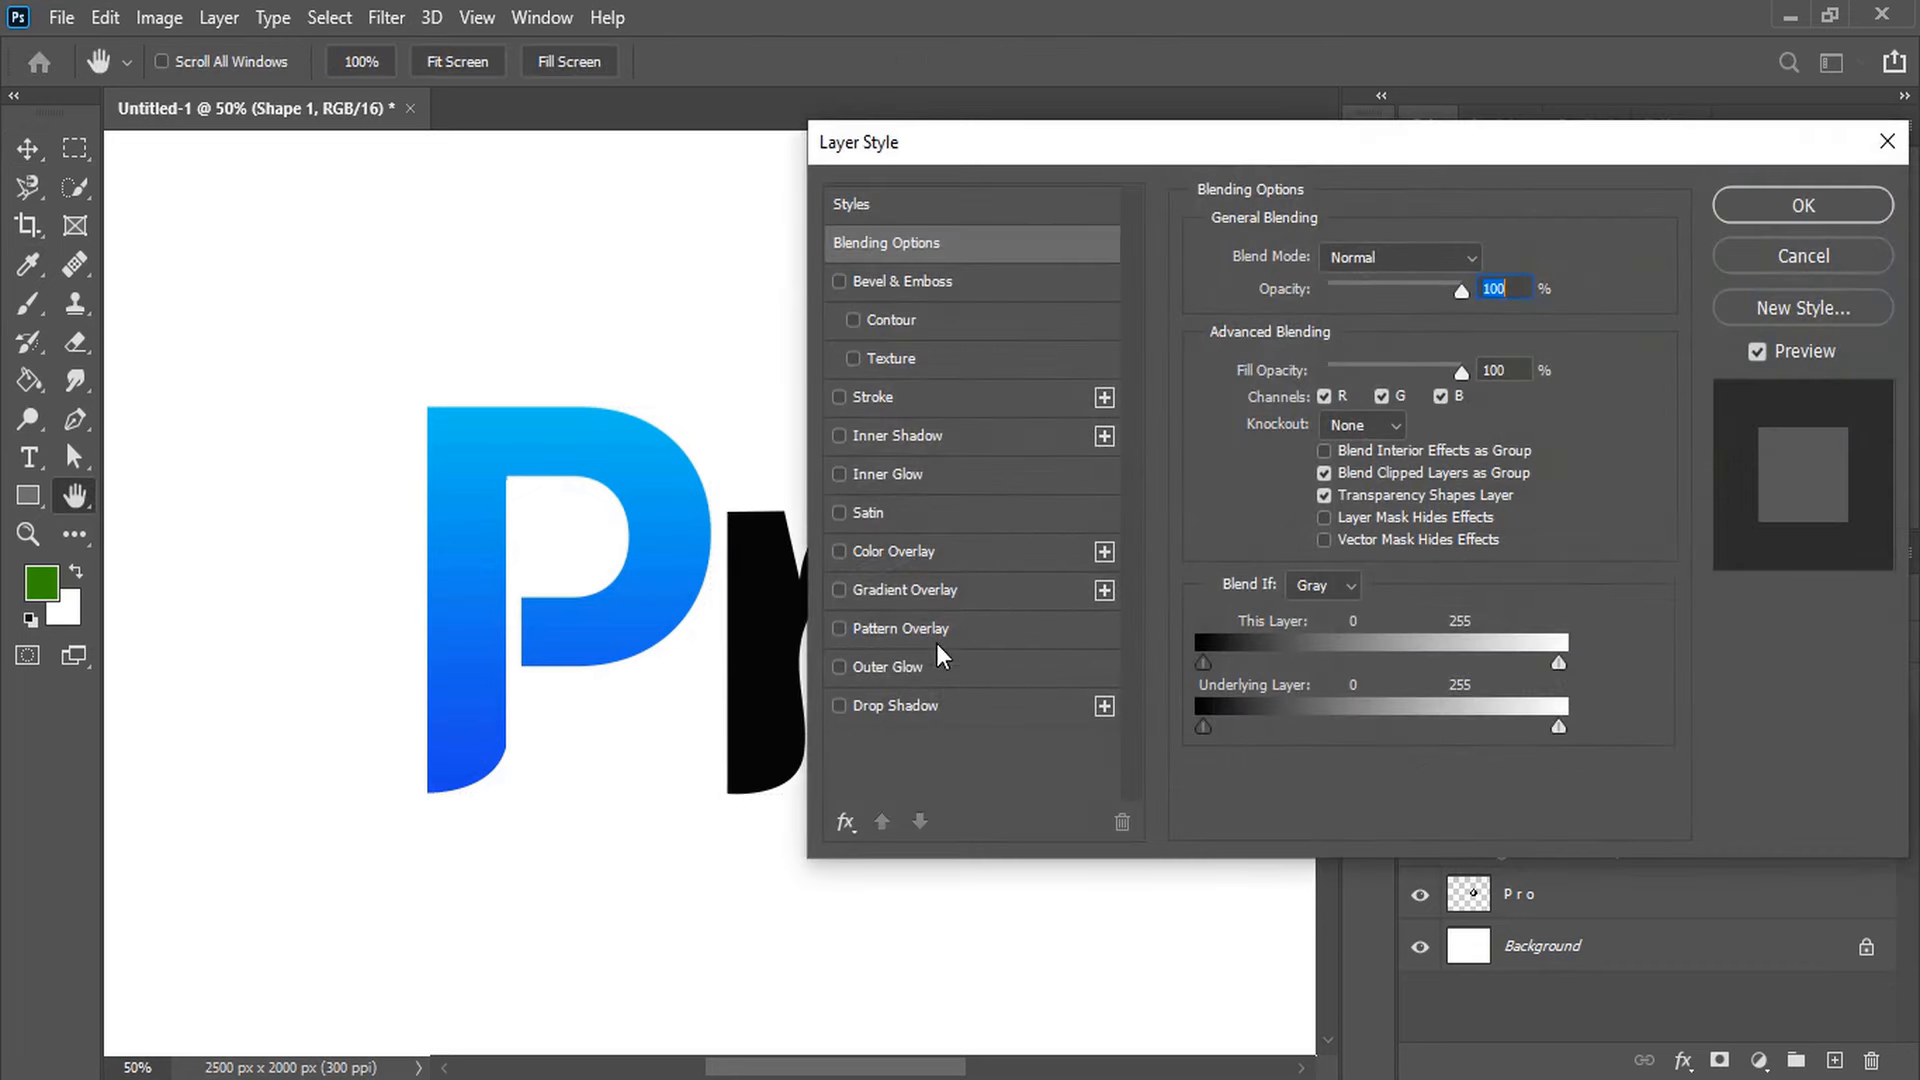
Color is a powerful tool in logo design, as it can evoke specific emotions and brand associations. Experiment with gradient color palettes to add depth, dimension, and a modern touch to your logo. Double-click on each layer to access the Gradient options, where you can customize the colors, angles, and blending to achieve your desired aesthetic.
By applying gradient colors to the various elements of your logo, you can create a cohesive and visually striking design that captivates the viewer’s attention.
6) Finalizing the Design and Applying Mockups
Once you’ve refined the individual elements and applied the color treatments, it’s time to group all the layers together and prepare your logo for real-world applications. By grouping the layers, you can easily manage and manipulate the entire design as a single unit.
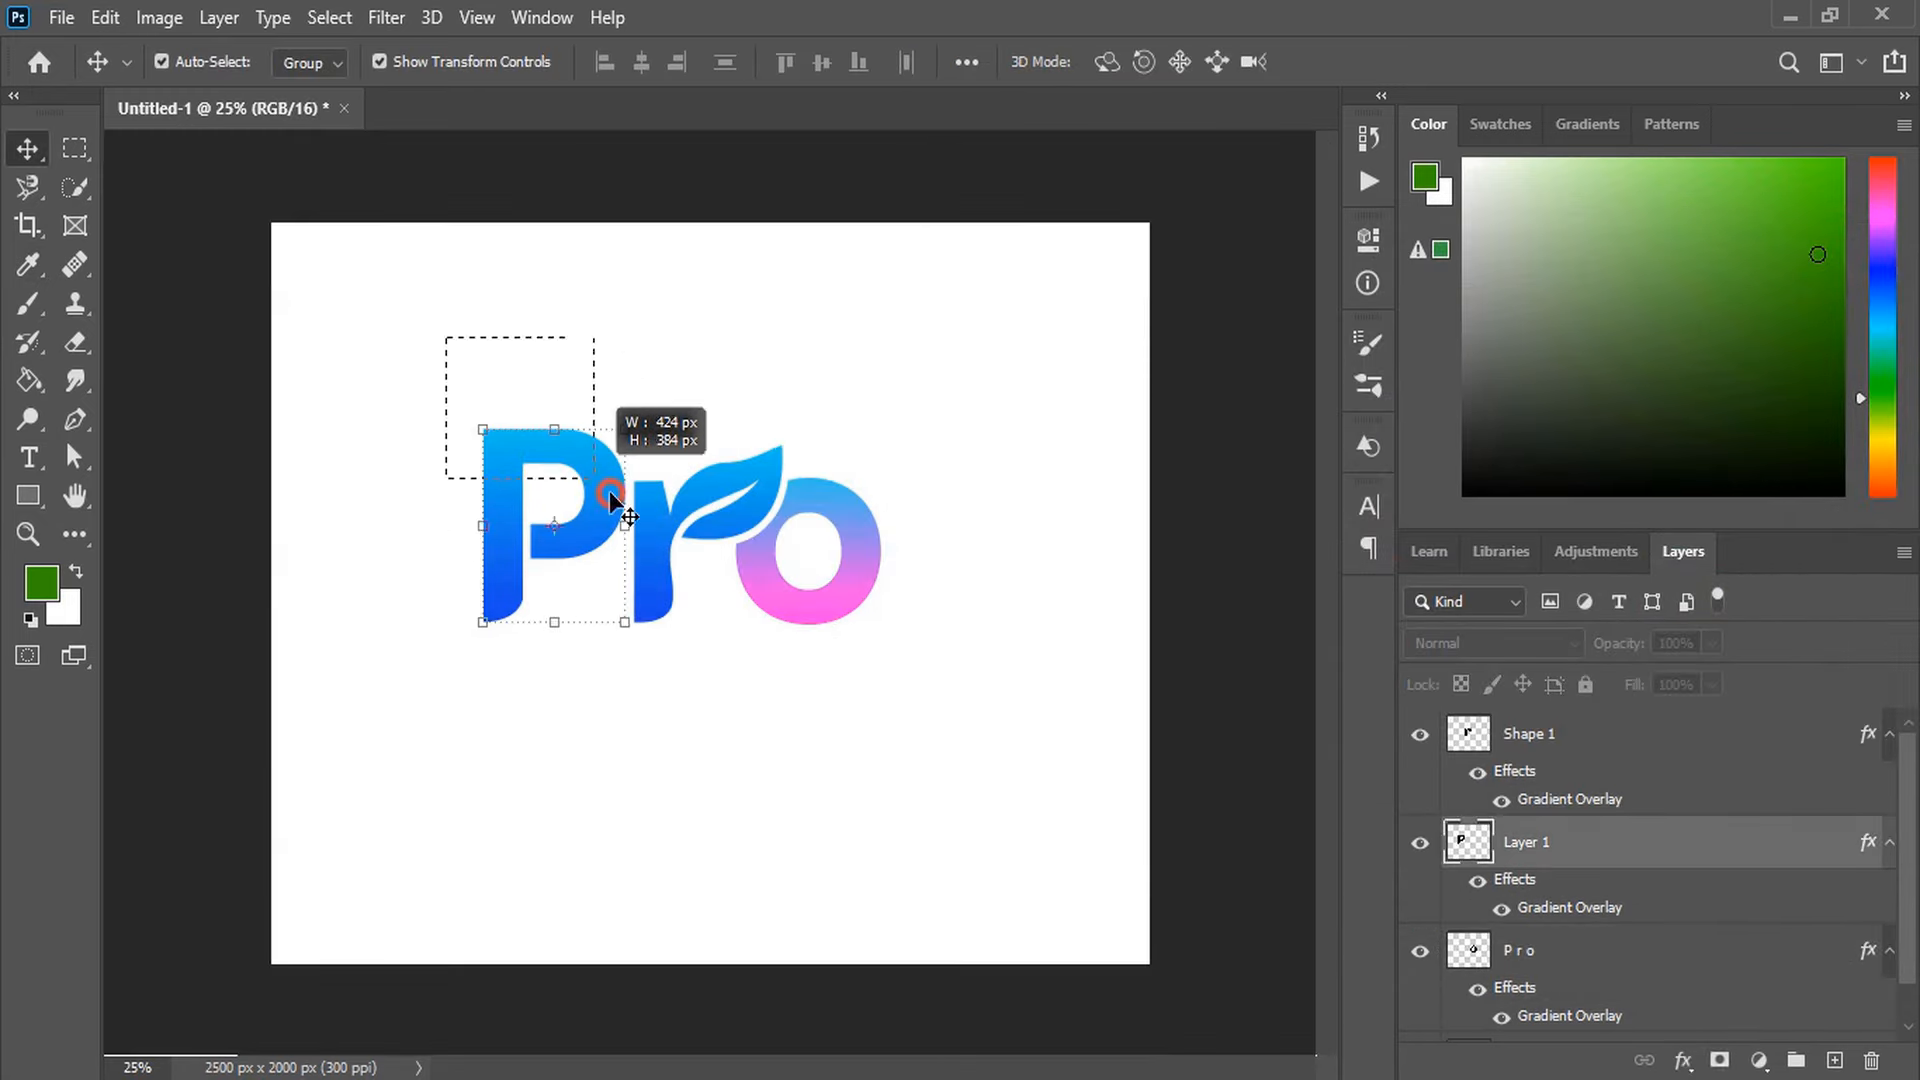
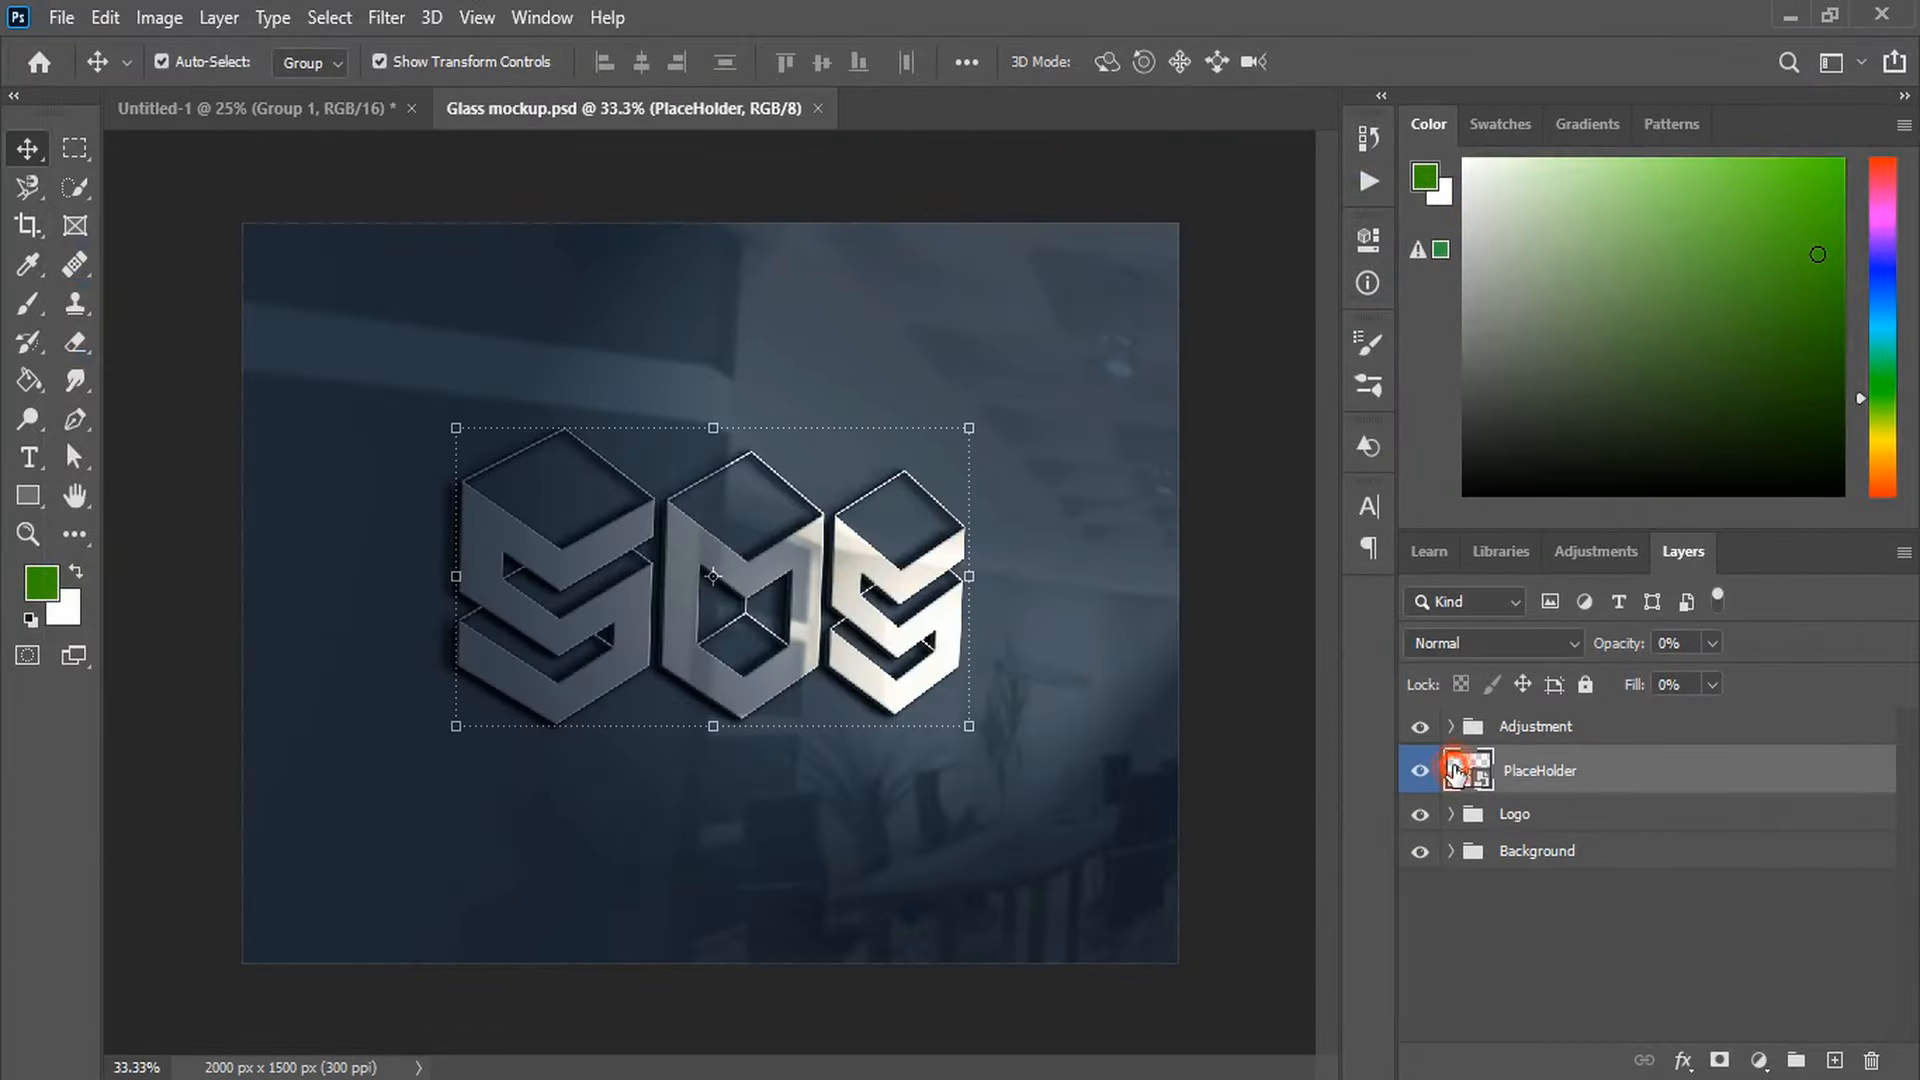
To showcase your logo in a professional and visually engaging manner, consider incorporating it into a product mockup. Photoshop’s versatile tools allow you to seamlessly integrate your logo into various templates, such as stationery, packaging, or digital displays. This step not only showcases your design in context but also helps you visualize how it will translate to different mediums.
CONCLUSION
By following these steps and best practices, you’ll be well on your way to creating a Photoshop logo design that truly stands out and leaves a lasting impression. Happy designing!
FAQ: How to Design a Logo in Photoshop: Easy Steps.
What are the key elements to consider when designing a logo in Photoshop?
- Typography: Selecting the right font and letter spacing is crucial for a memorable logo.
- Shapes and Curves: Incorporating organic, natural shapes can add depth and visual interest.
- Color Palette: Choosing a cohesive color scheme that reflects your brand’s personality.
- Composition: balancing the various elements to create a visually striking and well-proportioned design.
How can I effectively present my logo design to clients?
Incorporating your logo into realistic product mockups is an excellent way to showcase your design in a professional and visually compelling manner. This helps clients visualize how the logo will translate to various applications, from digital platforms to printed materials.
What are some best practices for creating a logo in Photoshop?
- Experiment with different typographic styles and placements to find the perfect balance.
- Utilize the pen tool to create organic shapes and curves that complement the typography.
- Leverage gradient colors to add depth and a modern touch to your logo design.
- Group all the layers together to easily manage and manipulate the entire design.
- Showcase your logo in realistic product mockups to demonstrate its versatility and impact.
Follow https://www.digitalpluto.co.in/ for the latest updates about graphic design.


