CorelDRAW for Beginners
Welcome to an in-depth exploration of CorelDRAW for Beginners, the powerful vector graphics software that empowers designers, artists, and professionals to create stunning visuals. In this comprehensive tutorial, we’ll guide you through the essential tools and features of CorelDRAW, equipping you with the knowledge to harness its full potential and unleash your creative potential.
1) Getting Started with CorelDRAW for Beginners.
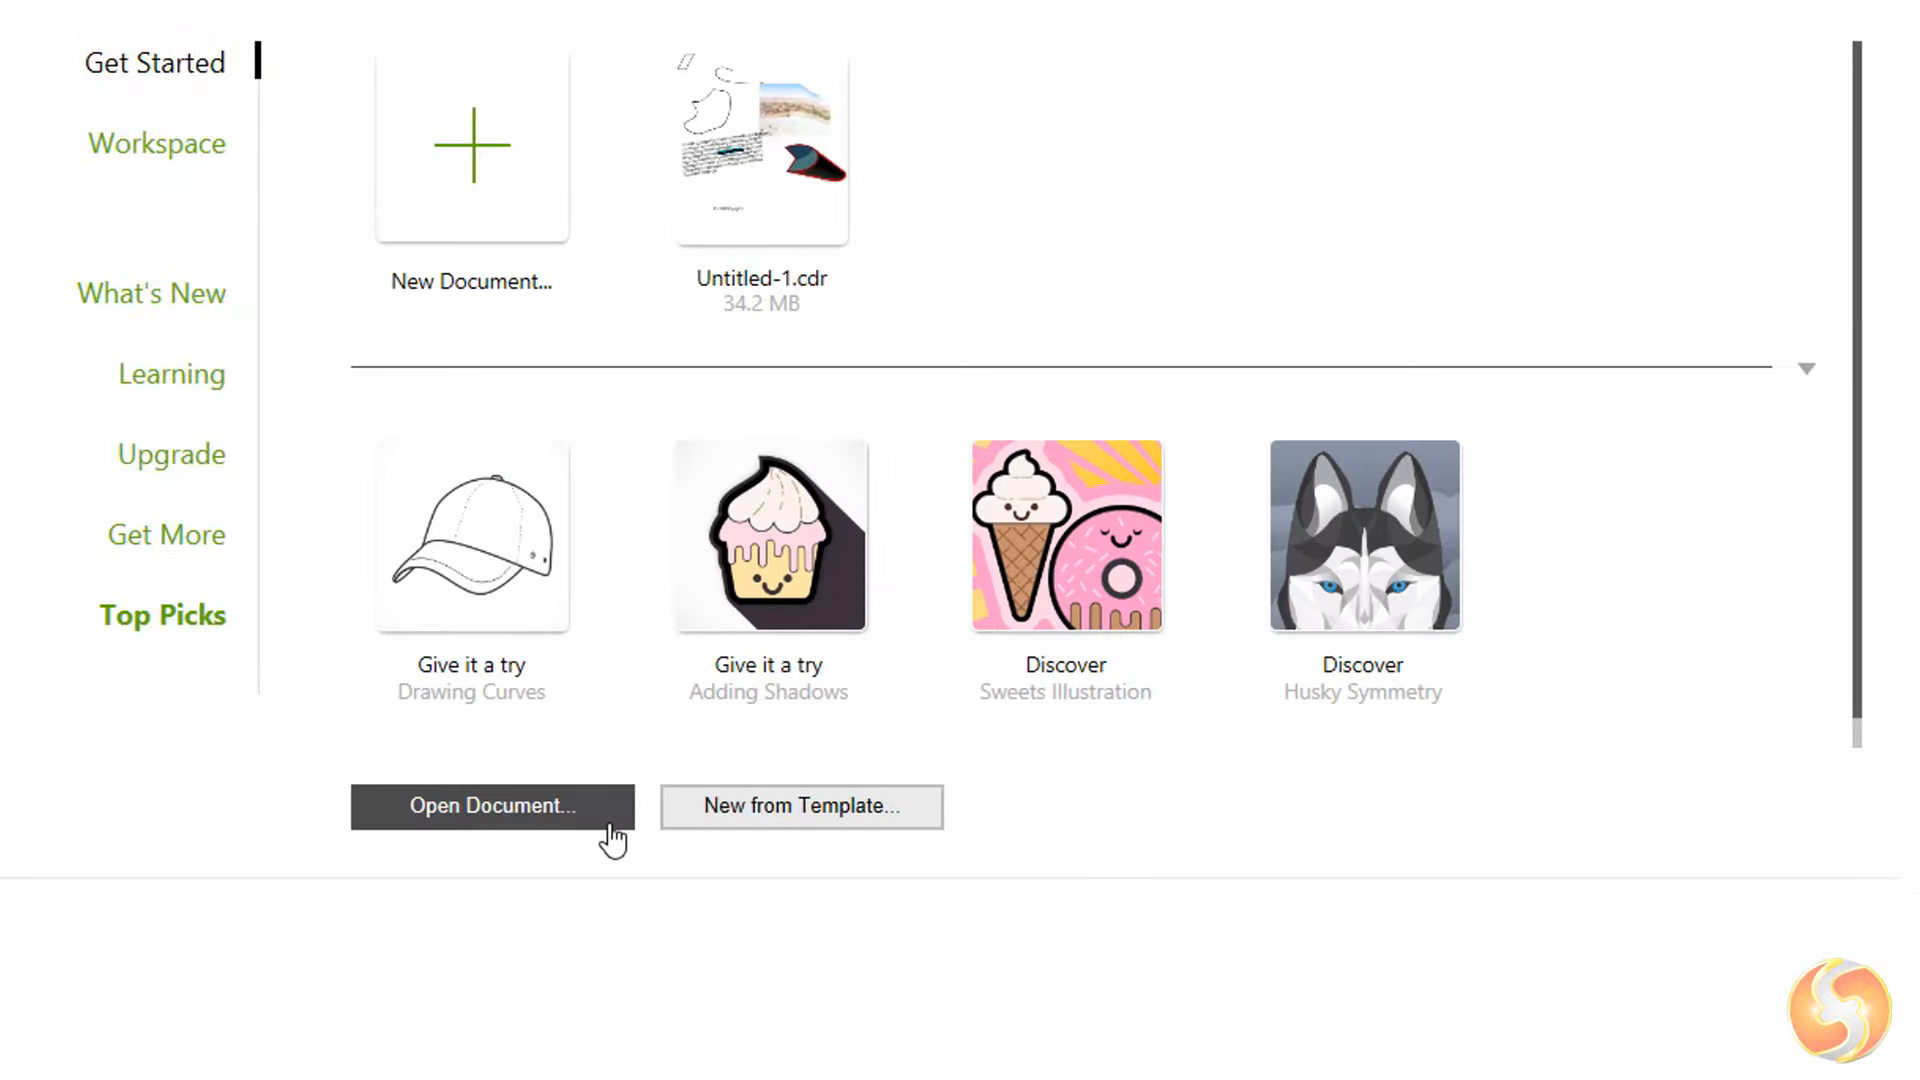
When you first open CorelDRAW, you’ll be greeted by the welcome screen, which offers a range of options to help you get started. From here, you can access tutorials, news, and the latest articles from Corel, or choose to open an existing document or create a new one.
To create a new document, simply click on “New Document…” and define the name, number of pages, and color mode (CMYK or RGB). You can then select the desired page size, orientation, and resolution, and click “OK” to begin your creative journey in CorelDRAW for Beginners.
2) Navigating the CorelDRAW Interface
In CorelDRAW for Beginners, The CorelDRAW interface is designed to be intuitive and user-friendly, with a toolbar on the left, various bars and panels on the top and right, and a dedicated tab for the current document. The toolbar houses a comprehensive collection of tools, some of which have a dark corner, indicating the presence of additional tools within. To access these, simply click and hold the button, then release the click when you’ve selected the desired tool.

The top bars provide options and properties for the current tool or selected object, while the panels on the right allow you to manage your drawings and documents. Be sure to explore the Hints panel, which offers valuable tips and guidance on the tool you’re currently using. If any panels are closed, you can reopen them from the Window tab under Dockers.
3) Working with Vectors
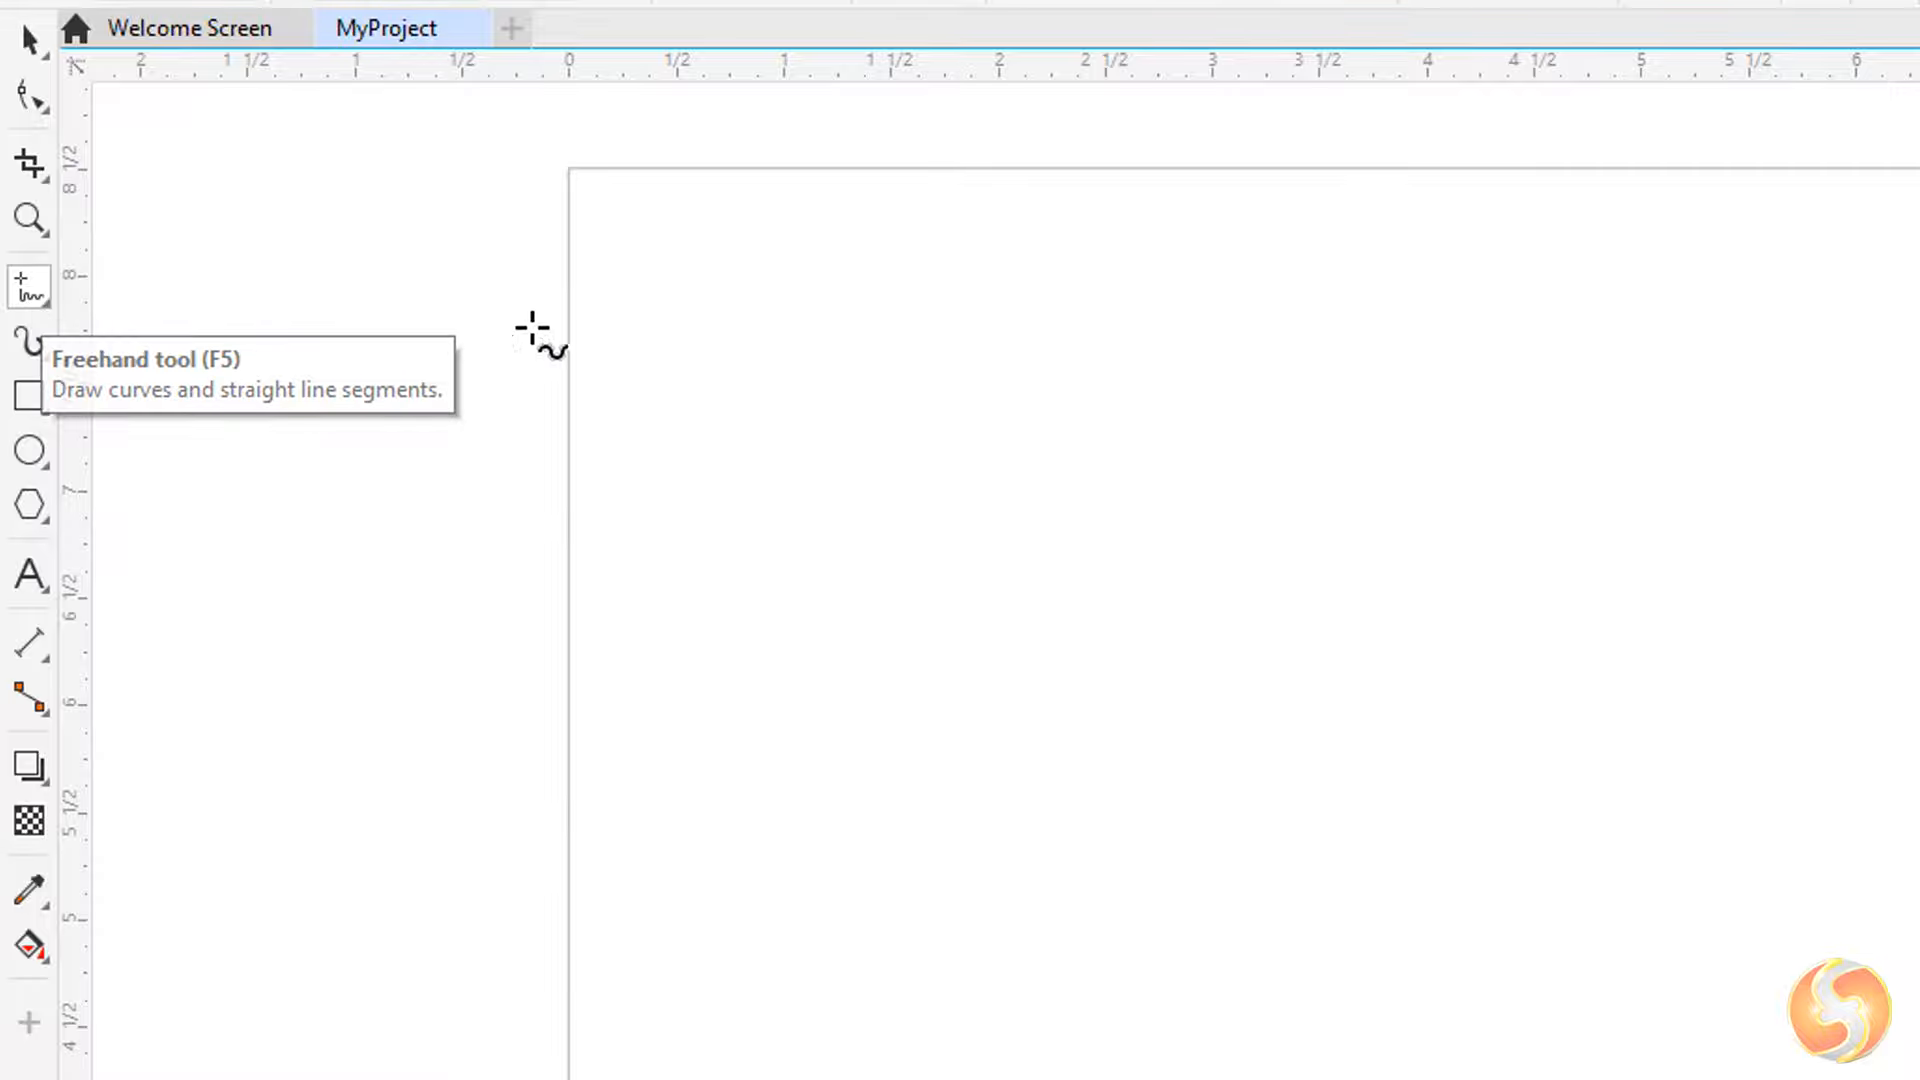
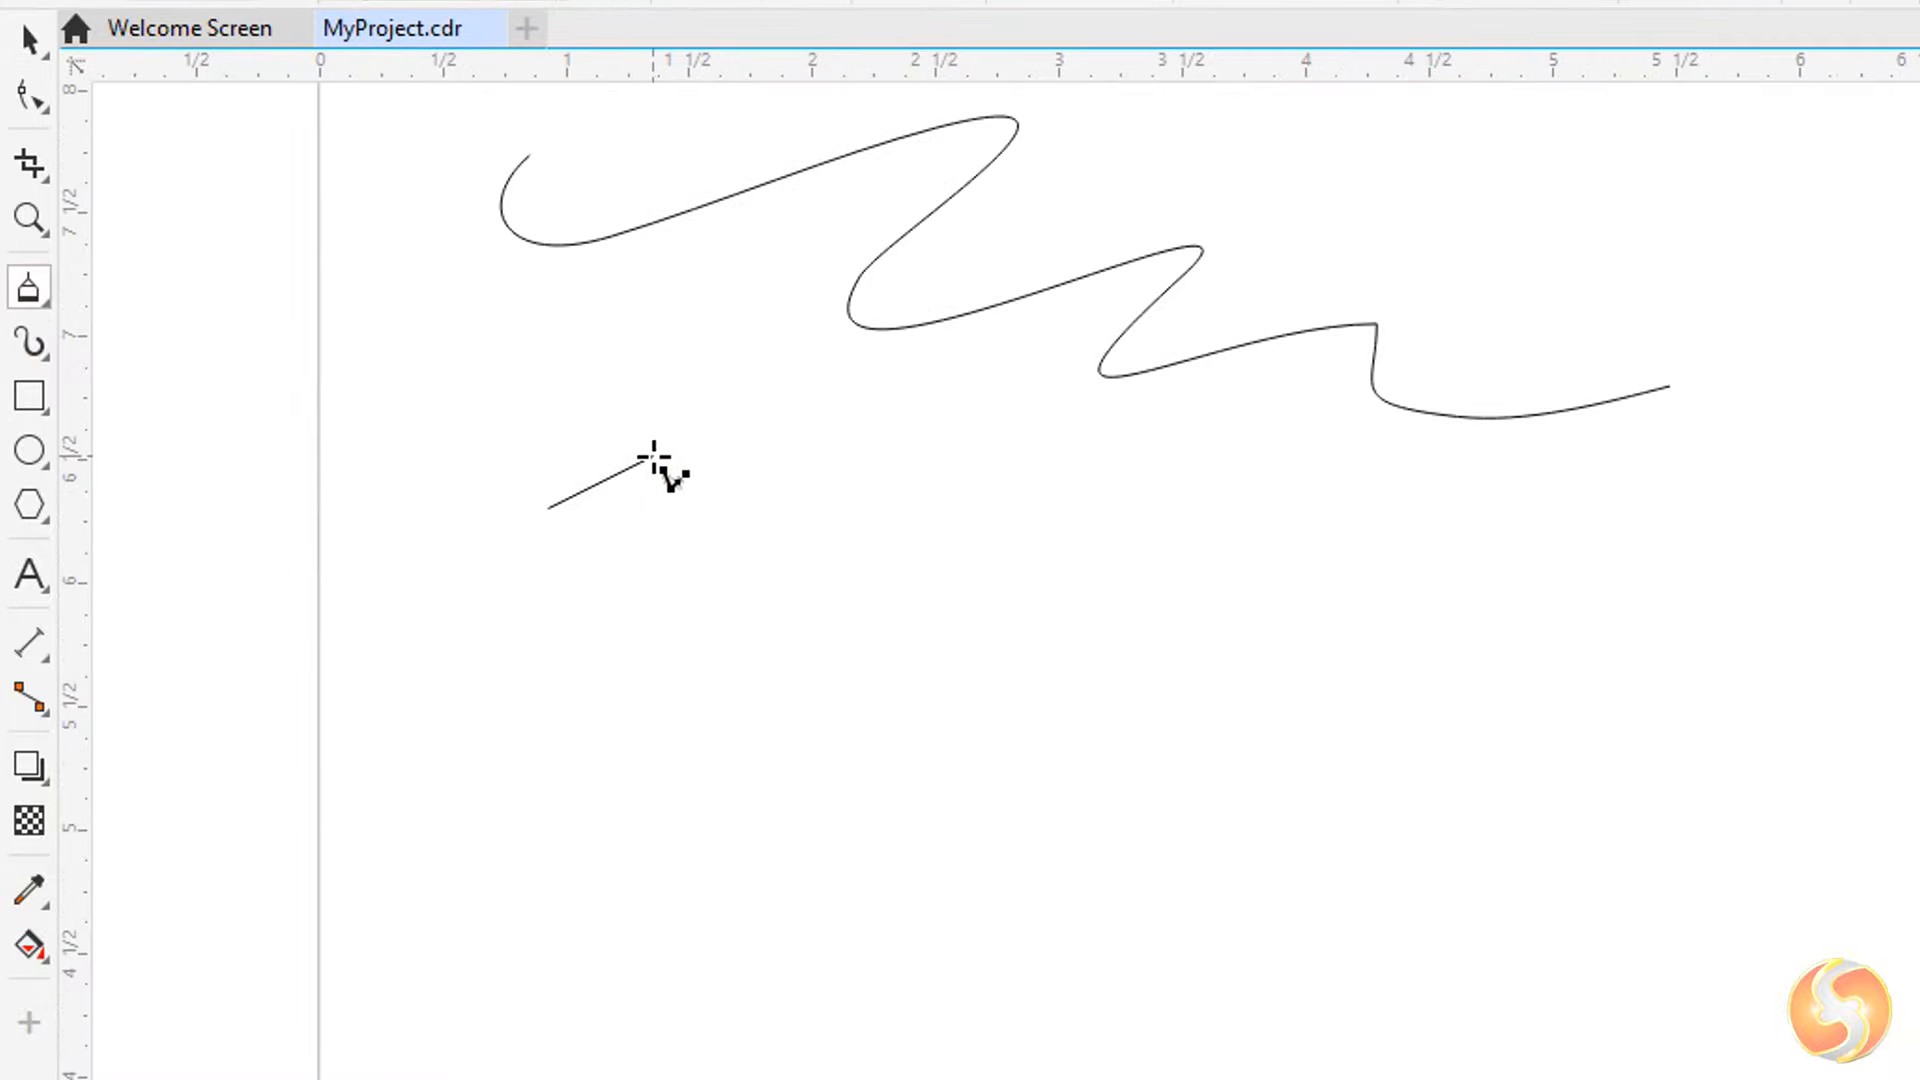
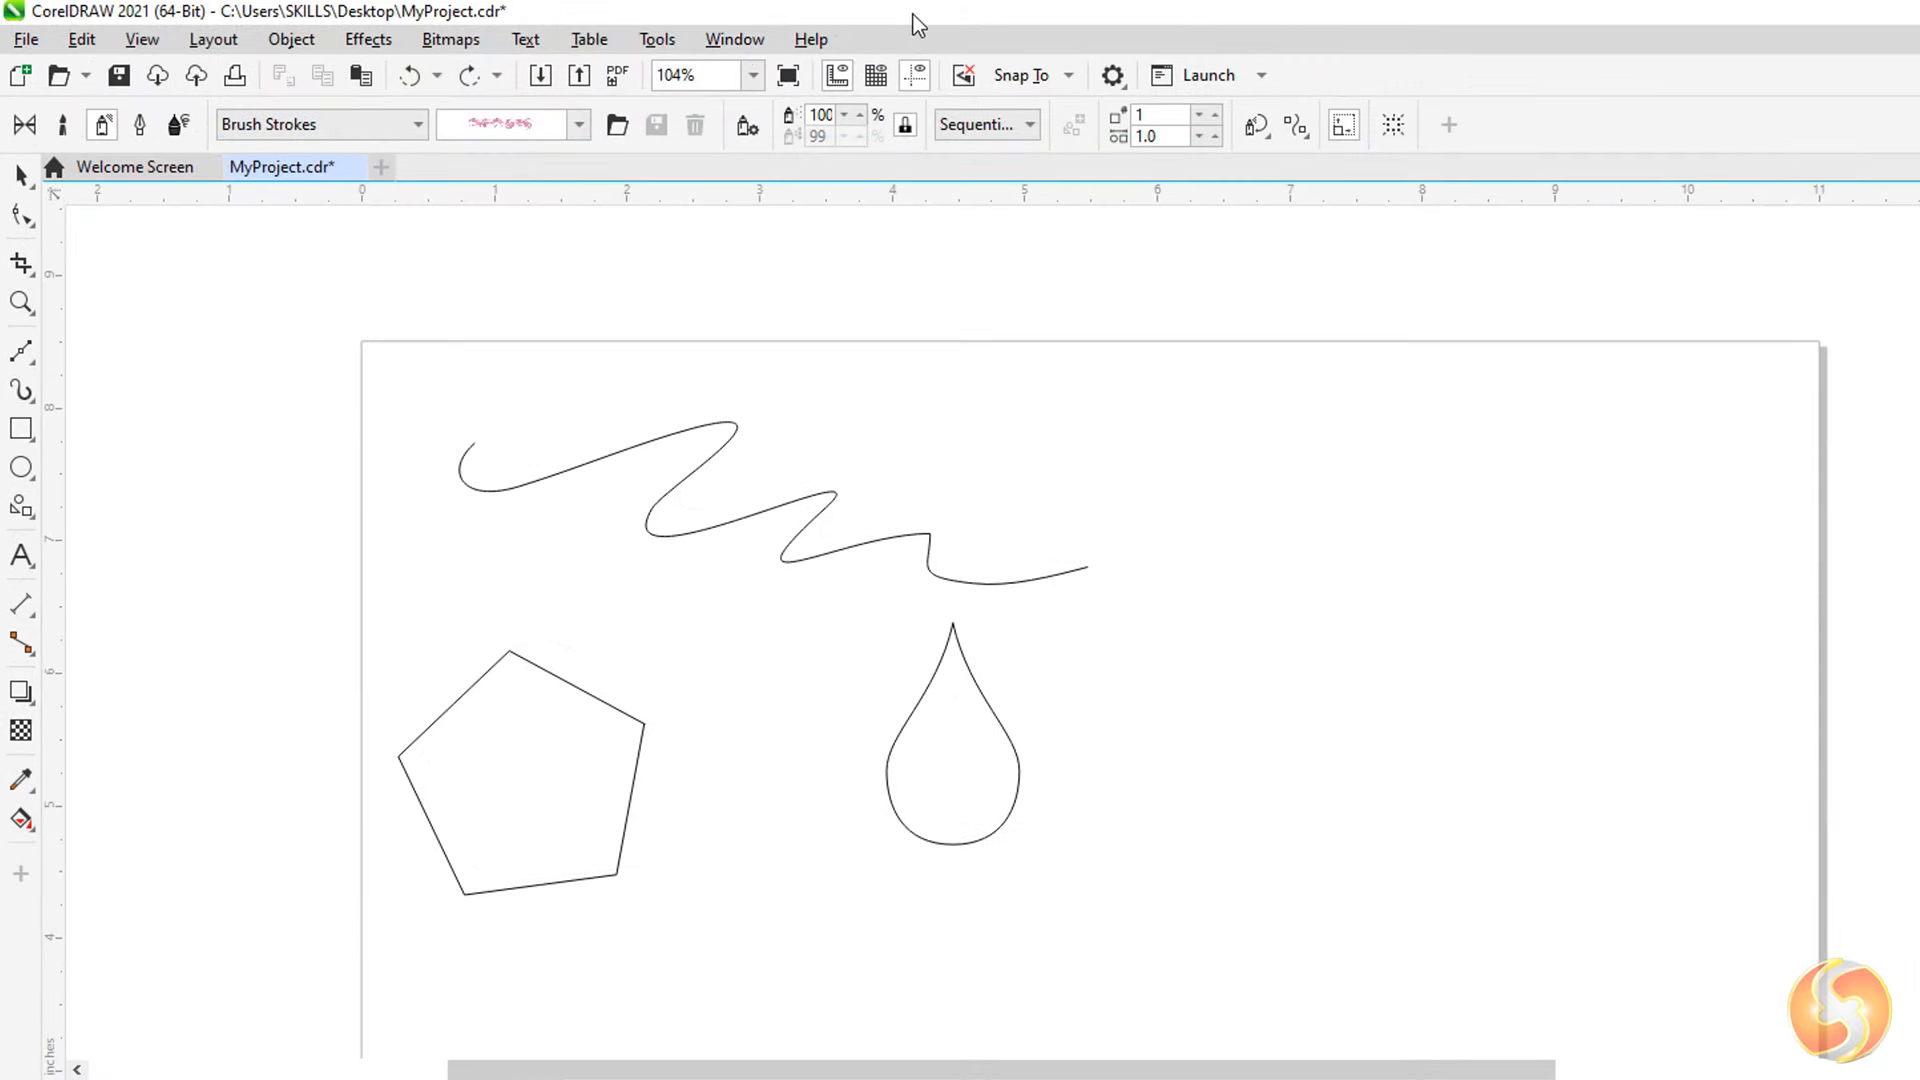
CorelDRAW offers a wide range of tools for creating and manipulating vector graphics. The Freehand tool allows you to draw freehand by clicking and dragging on the document, while the LiveSketch and Smart Drawing tools can automatically smooth and adjust your strokes and shapes.
For more precise vector drawing, the Polyline tool enables you to create straight segments by clicking multiple times or freehand curves by clicking and holding. The 3-Point Curve tool allows you to define arcs by clicking and dragging, and the Bézier, Pen, and B-spline tools provide advanced curve-drawing capabilities.
CorelDRAW also includes a variety of shape tools, from rectangles and polygons to common shapes that can be selected from the top bar. The Artistic Media tool allows you to create expressive sketches, with options to adjust the trace style, properties, and width.
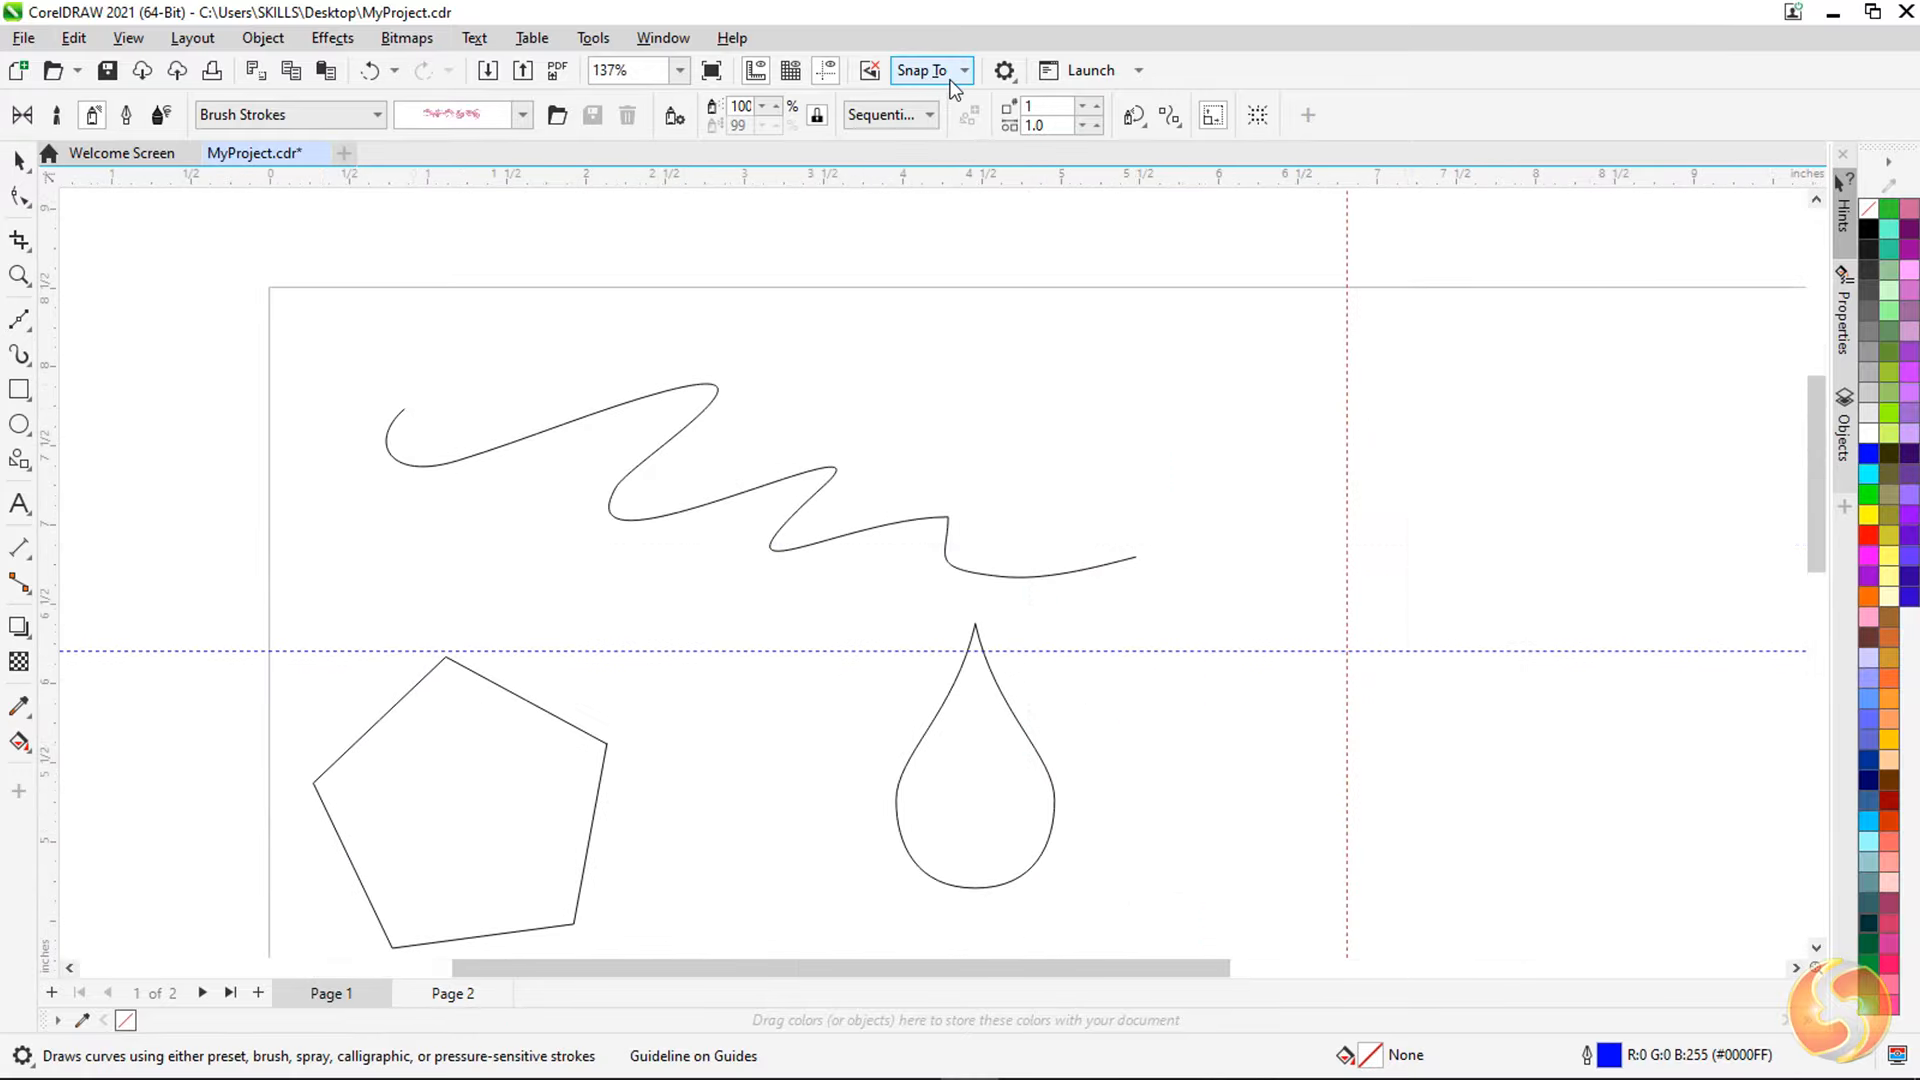
4) Drawing Aids and Snapping by CorelDRAW Tutorial for Beginners.
To help you create precise and aligned designs, CorelDRAW offers a range of drawing aids, including rulers, grids, and guidelines. You can enable and disable these from the top of the interface, and you can even change the measurement unit by right-clicking on any ruler.
CorelDRAW’s snapping options, collected under the “Snap To” menu, allow you to snap to the grid, guidelines, or various object keypoints, such as nodes, edges, midpoints, intersections, and centers. These snapping tools are invaluable for ensuring your vectors are perfectly aligned and positioned.
5) Editing and Manipulating Vectors
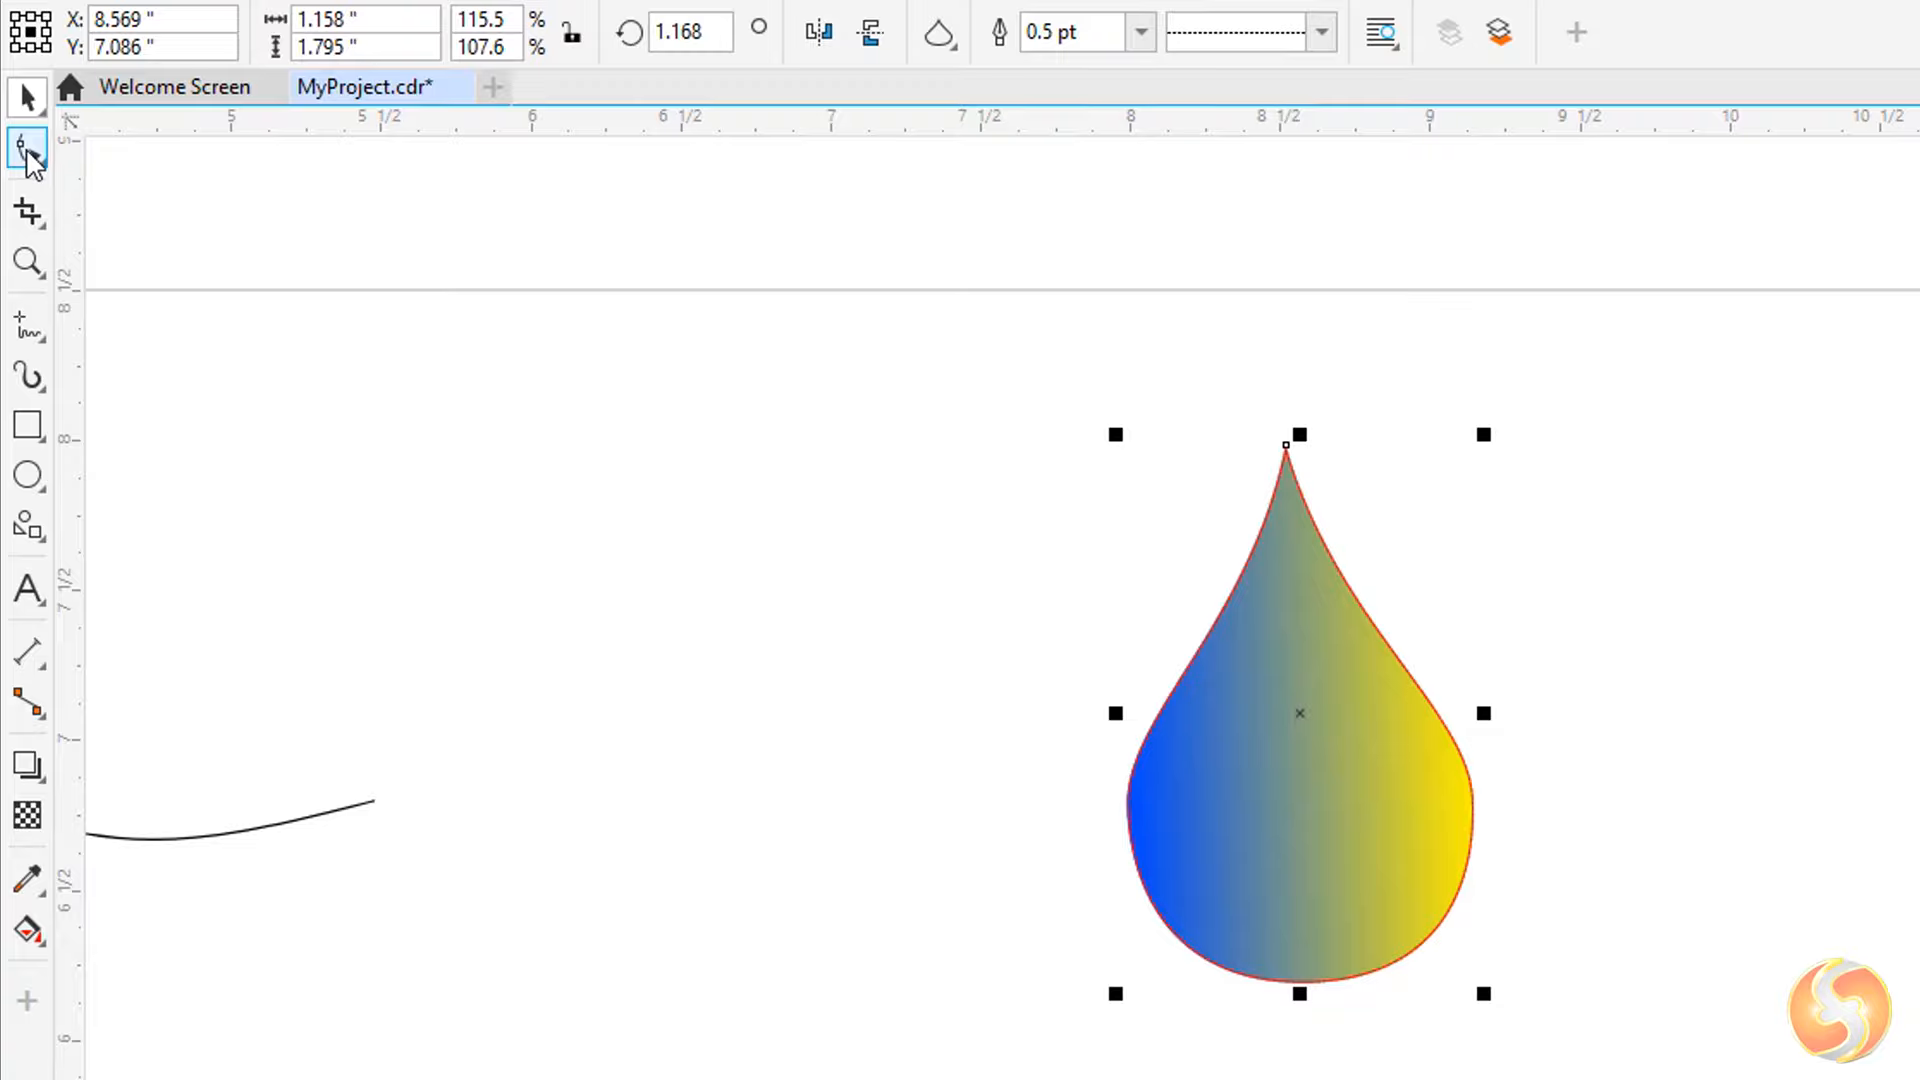
Once you’ve created your vector objects, the Pick Tool allows you to select and manipulate them. You can click and drag to move the object, use the black nodes to scale it, and click again to rotate or skew the object. You can also adjust the rotation point by moving the central node.

To edit the appearance of a selected object, you can use the top bar or the Properties panel on the right. Under “Outline,” you can adjust the line color, thickness, style, corners, and endpoints. The “Fill” options allow you to apply solid colors, gradients, or vector or bitmap patterns.
For more advanced vector editing, the Shape tool enables you to move nodes and tangents to refine the shape, and you can double-click to add new nodes. Other tools in the second button of the toolbar can be used to apply various effects by clicking and dragging over the vector paths.
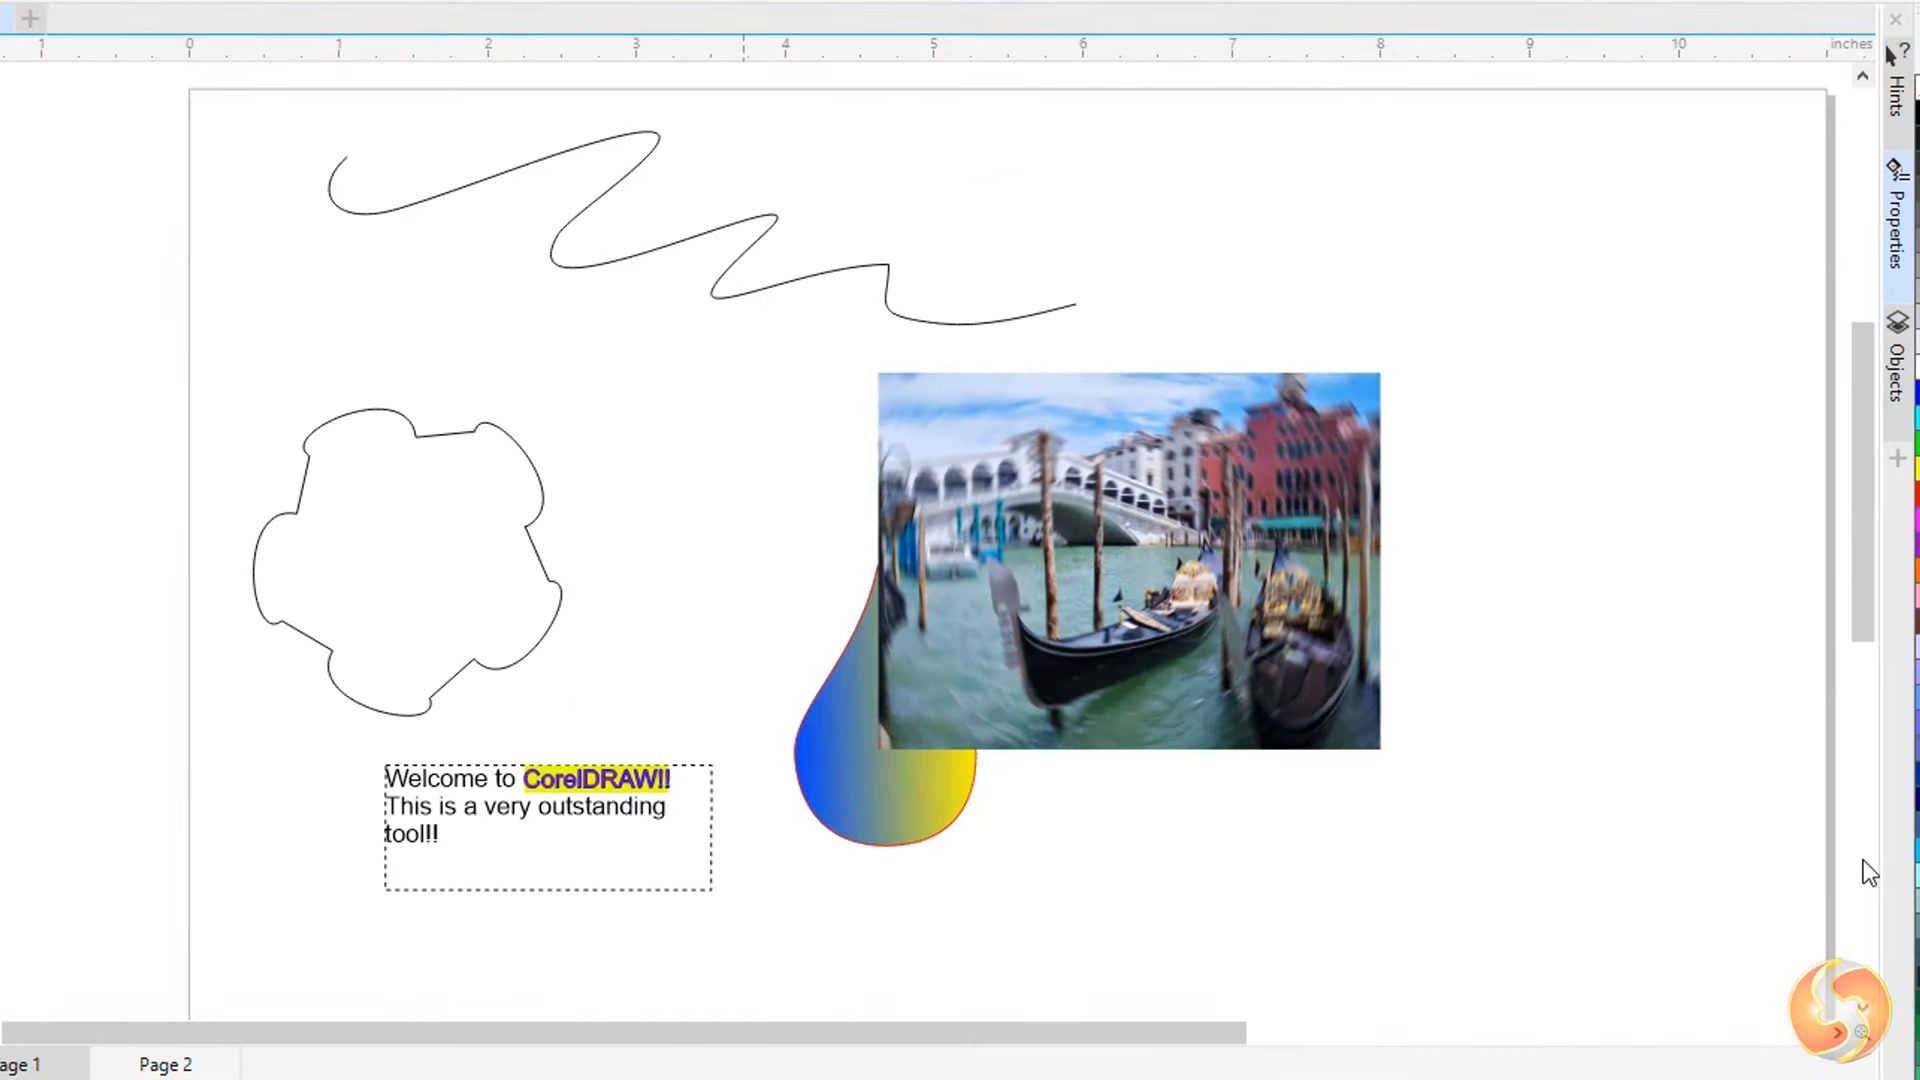
6) Working with Images
In addition to vector graphics, CorelDRAW allows you to work with raster images. To import an image, go to “File” > “Import” and select the desired file. You can then click and drag on the document to position and size the image.
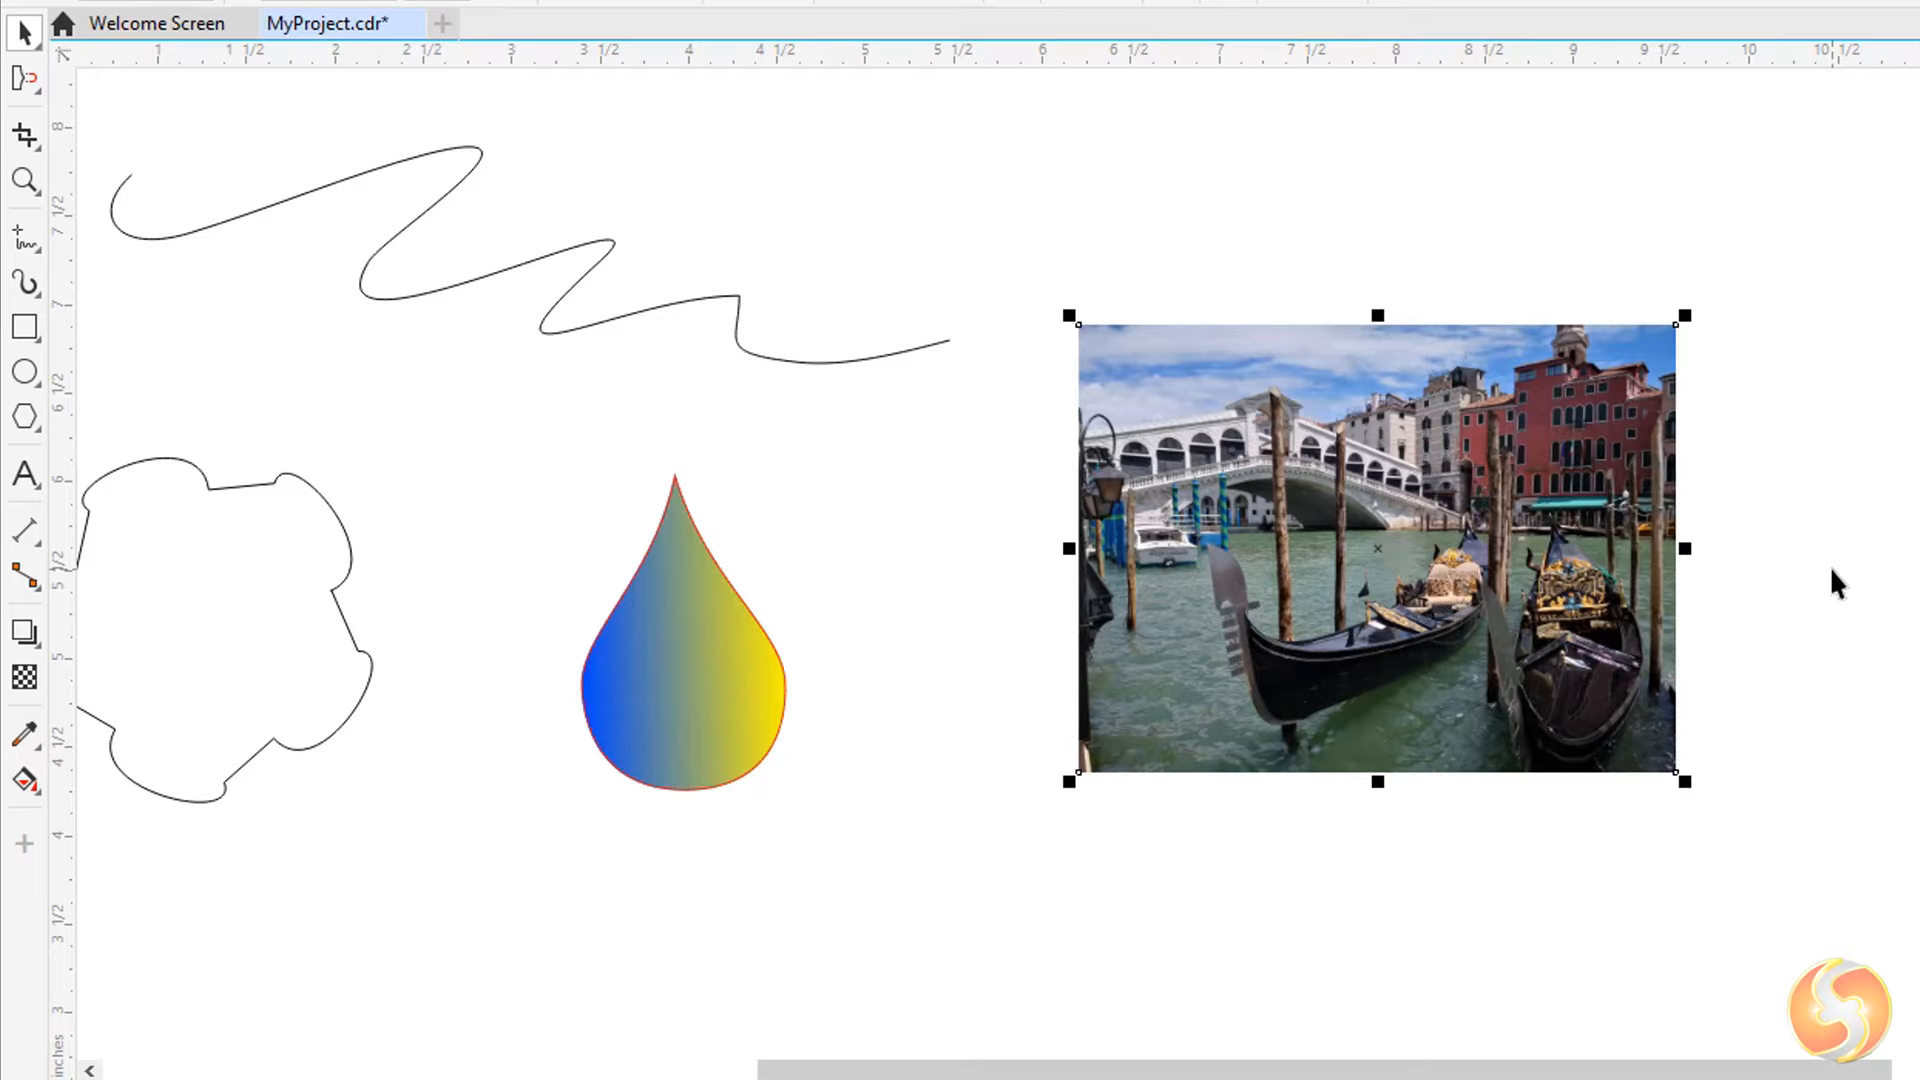
Like vectors, images are delimited by a vector contour that can be edited and cropped using the Shape tool or other vector tools. You can also vectorize the image by going to “Trace Bitmap,” which will create a group of vectors that represent the image.
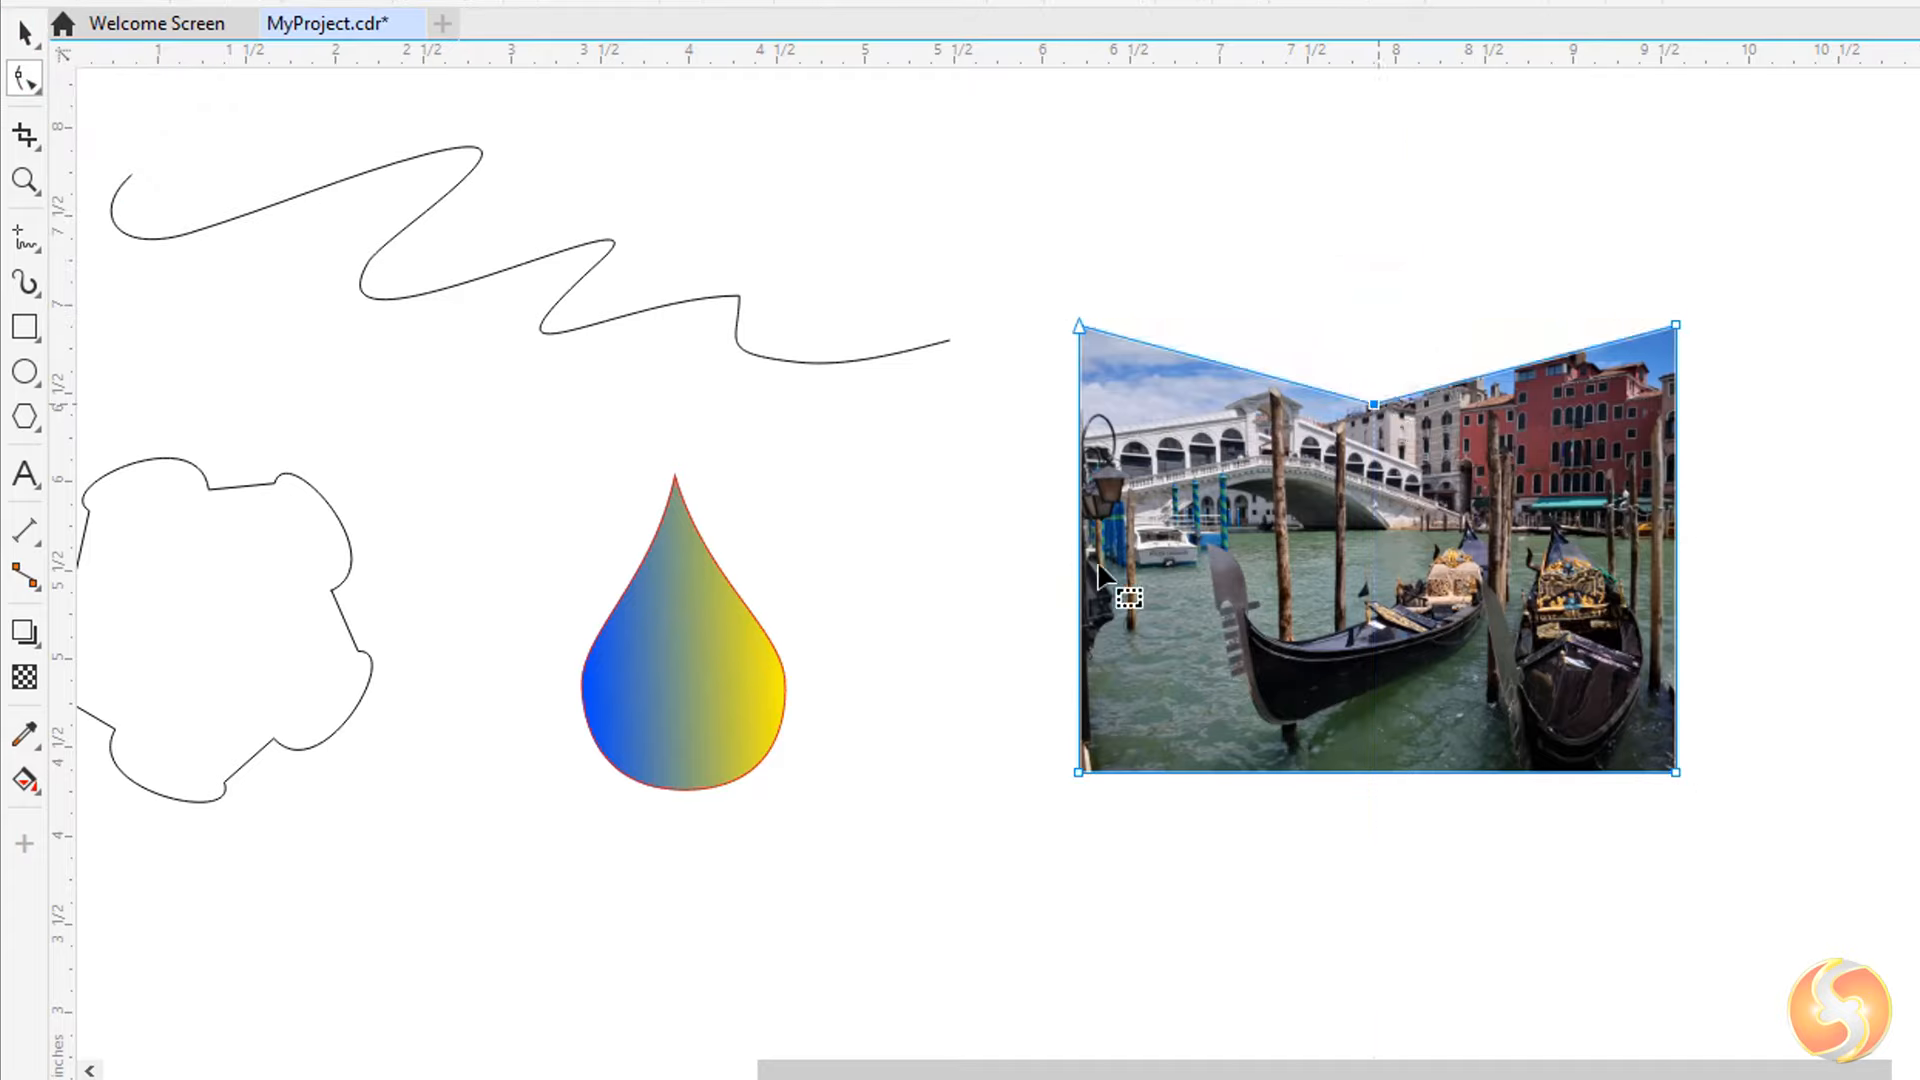
The Properties panel offers a range of options for manipulating and enhancing images, including transparency effects, bitmap effects, and image adjustments such as brightness, contrast, and saturation.
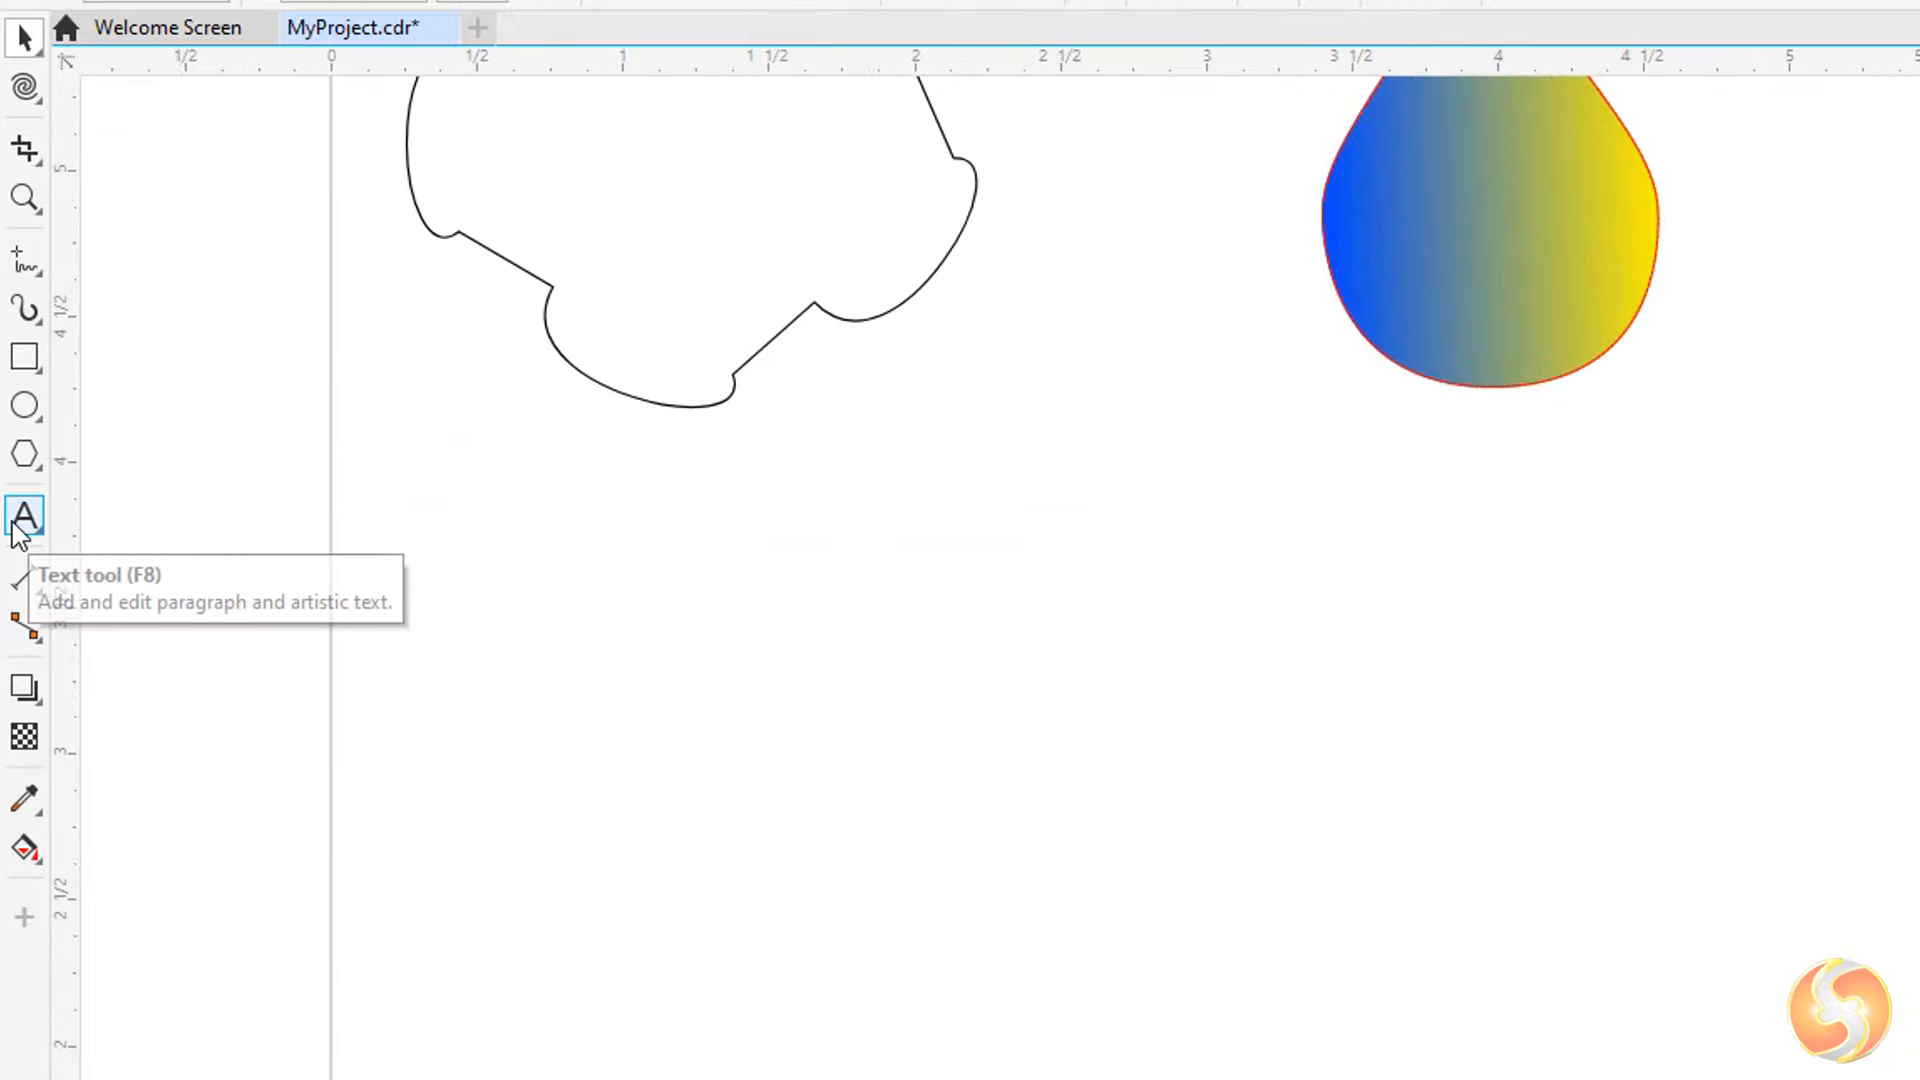
7) Adding Text and Annotations to the CorelDRAW for Beginners.
To add text and annotations to your designs, enable the Text tool and click and drag on the document to define a text area. As you type, the dashed contours will indicate the maximum text spread, and you can click and drag the nodes to extend the box as needed.
With the Pick tool, you can select and move, rotate, and skew the text box, just like other objects. You can also adjust the text font, size, style, and colors from the top bar or the Properties panel.
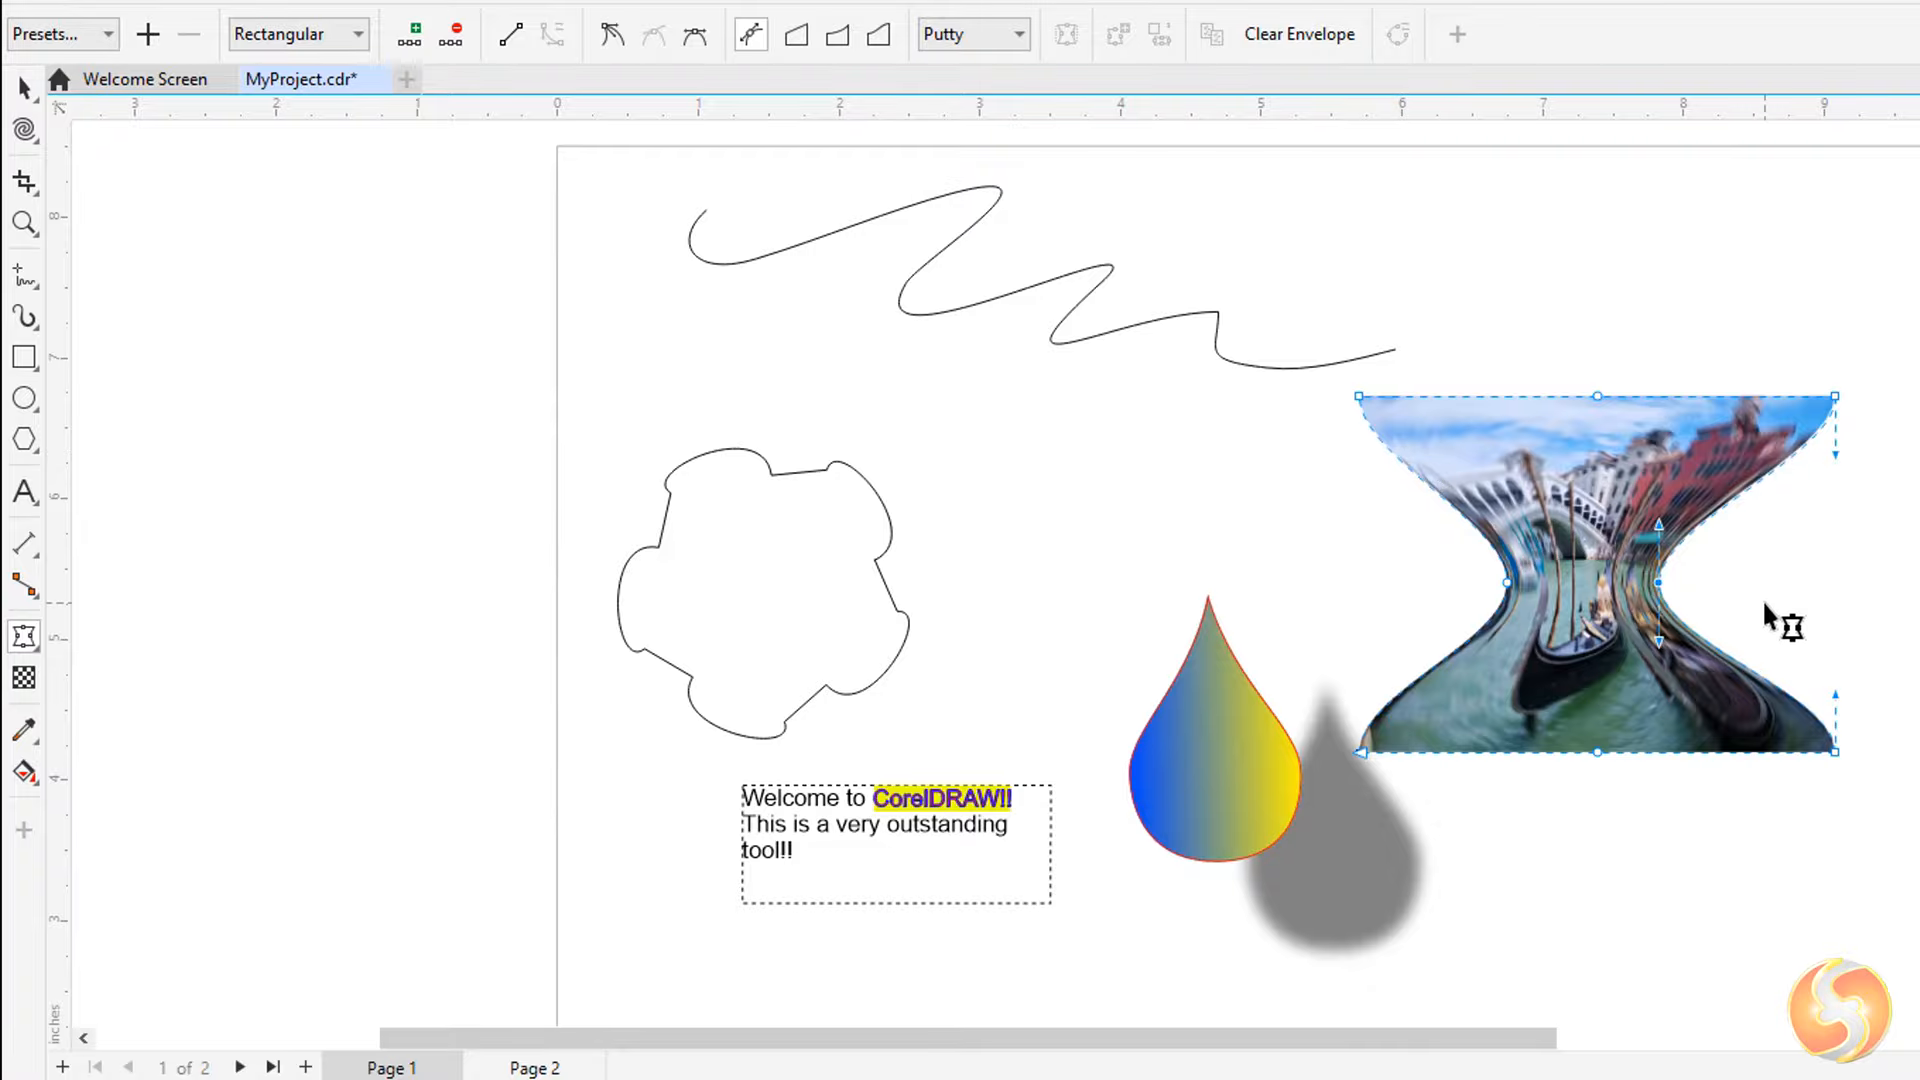
8) CorelDRAW for Beginners: Managing Objects and Applying Effects
The Objects panel provides a comprehensive view of all the elements in your document, allowing you to show, hide, and lock objects as needed. You can also rearrange the order of objects by clicking and dragging them in the list.
CorelDRAW offers a variety of effects that you can apply to your vectors and image borders, such as shadows, contours, distortion, and extrusion. Select the desired effect from the tools at the bottom and click and drag to apply it.
The Extrude tool is particularly powerful, as it allows you to add 3D extrusion to your objects. You can adjust the direction and length of the extrusion, as well as its properties, including type, rotation, color, and lighting.
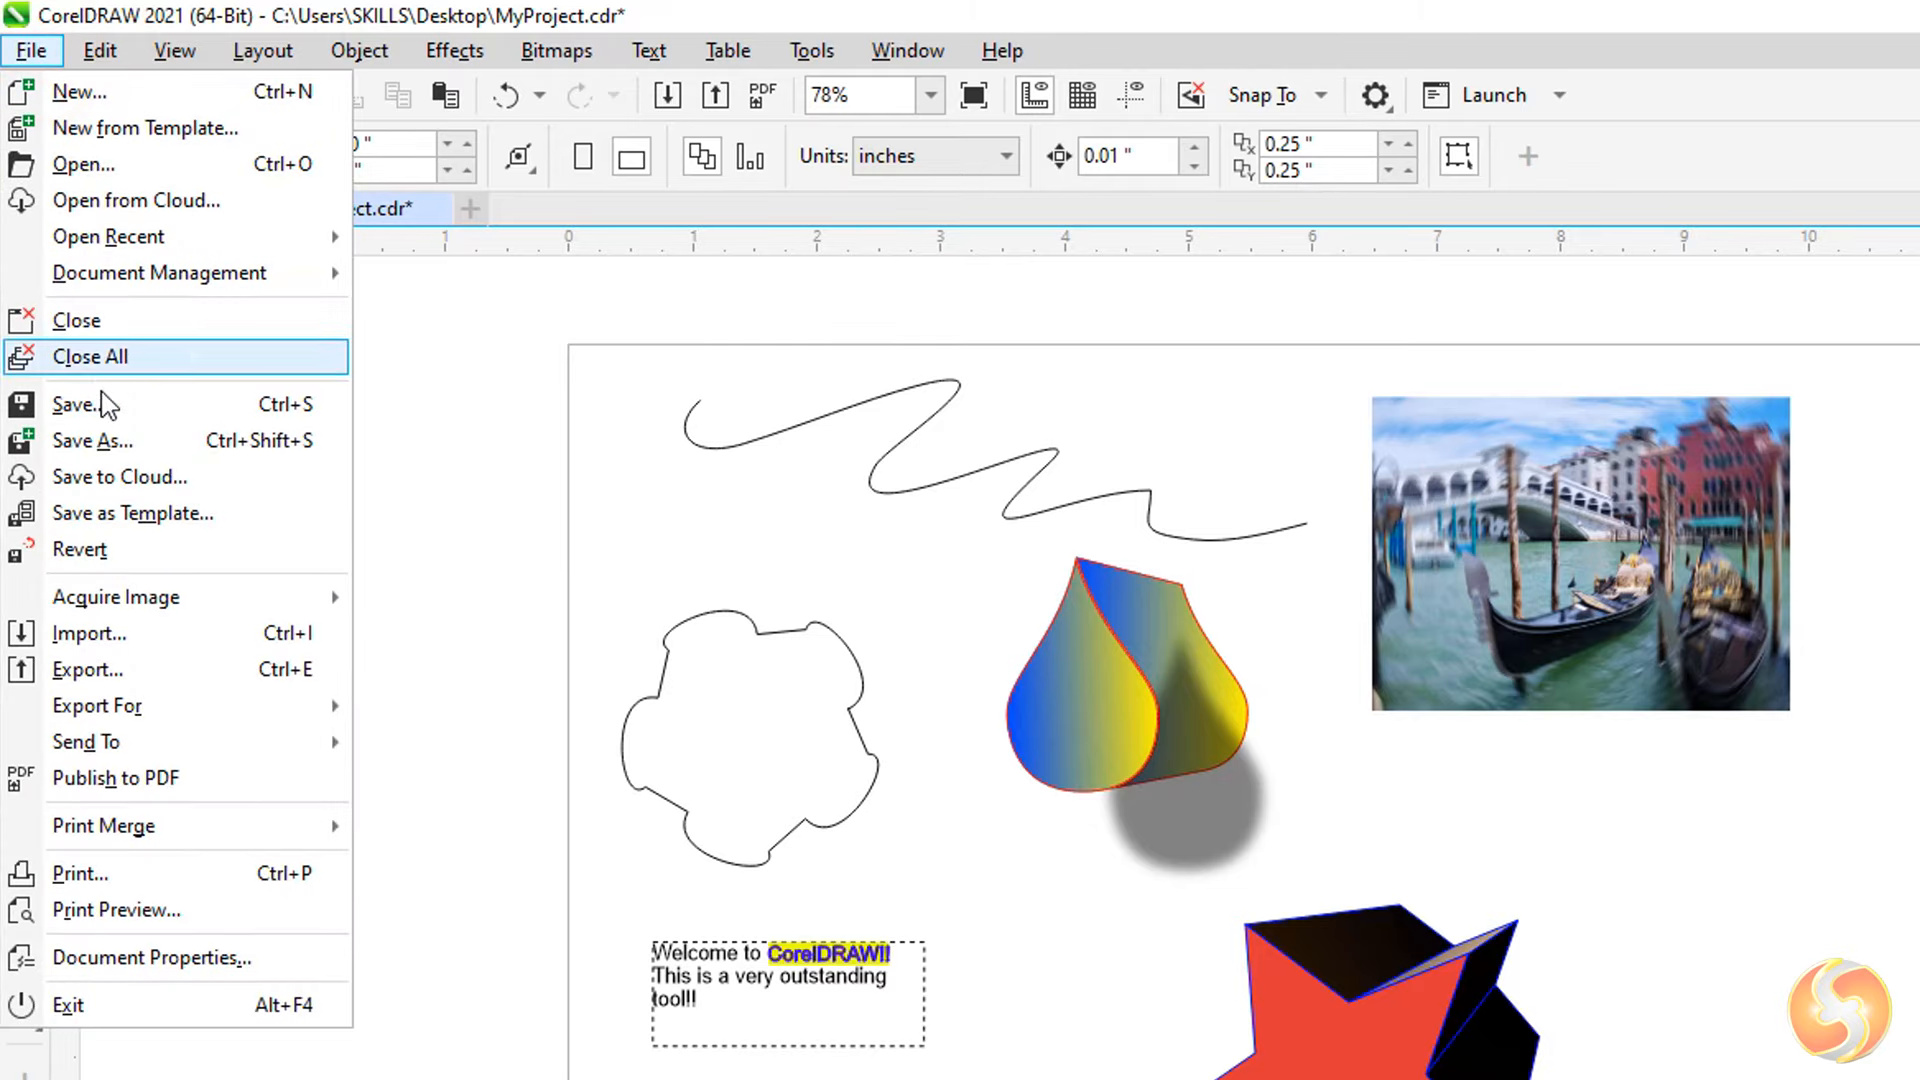
9) Saving and Exporting Your Designs
When you’re ready to save your project, go to “File” > “Save As.” CorelDRAW projects are saved in the .cdr file format, which preserves all your object properties and their placement on the document. You can also export your designs in other formats, such as.PDF for printing or.SVG for web use.
Conclusion
In this comprehensive CorelDRAW tutorial for beginners, we’ve explored the essential tools and features that make this software a powerful choice for vector graphics creation and image editing. From navigating the intuitive interface to mastering vector drawing, working with images, and applying advanced effects, you now have the knowledge to unleash your creativity and produce stunning designs.
Remember, the key to success with CorelDRAW is practice and experimentation. Dive in, explore the tools, and let your imagination soar. With the resources and support available from Corel, you’ll be well on your way to becoming a CorelDRAW expert in no time. Happy designing!
FAQ
Is CorelDRAW subscription-based software?
No, CorelDRAW is not subscription-based software like Adobe Illustrator. It is a one-time purchase, which makes it a more cost-effective option for many users.
Can I use CorelDRAW for professional-level design work?
Absolutely! CorelDRAW is a powerful and feature-rich vector graphics software that is widely used by professionals in various industries, including graphic design, illustration, and print production.
Is there a learning curve to using CorelDRAW for beginners?
While CorelDRAW has a comprehensive set of tools and features, the interface is designed to be intuitive and user-friendly. With this tutorial and the wealth of resources available from Corel, you’ll be able to get up to speed quickly and start creating professional-quality designs.
Can I use CorelDRAW on multiple devices?
Yes, CorelDRAW offers a cross-platform experience, allowing you to use the software on both Windows and macOS devices. This flexibility ensures that you can work on your designs seamlessly, regardless of the device you’re using.
Follow https://www.digitalpluto.co.in/ for the latest updates about graphic design.