Adobe Illustrator’s Design Anywhere
Are you ready to dive into the world of graphic design with Adobe Illustrator’s Design Anywhere? Whether you’re a complete beginner or just looking to brush up on your skills, this comprehensive guide will walk you through the essential tools and techniques to get you started on your creative journey.
1) Understanding Vector Graphics: Adobe Illustrator’s Design Anywhere.
First and foremost, let’s talk about the foundation of Illustrator: vector graphics. Vector graphics, as opposed to raster images (such as photographs), are made up of mathematical lines and forms that may be scaled to any size without losing quality.This makes Illustrator the perfect tool for creating scalable logos, illustrations, and other design elements, which in Adobe Illustrator’s design Anywhere
When you open Illustrator, you’ll be greeted with the home screen, which offers a variety of preset document sizes and options to customize your new file. Remember to choose RGB for digital projects and CMYK for print.
2) Navigating the Workspace
Once you’ve created your new document, you’ll be faced with Illustrator’s robust workspace. Don’t be intimidated; let’s break down the different components and how to make the most of them.
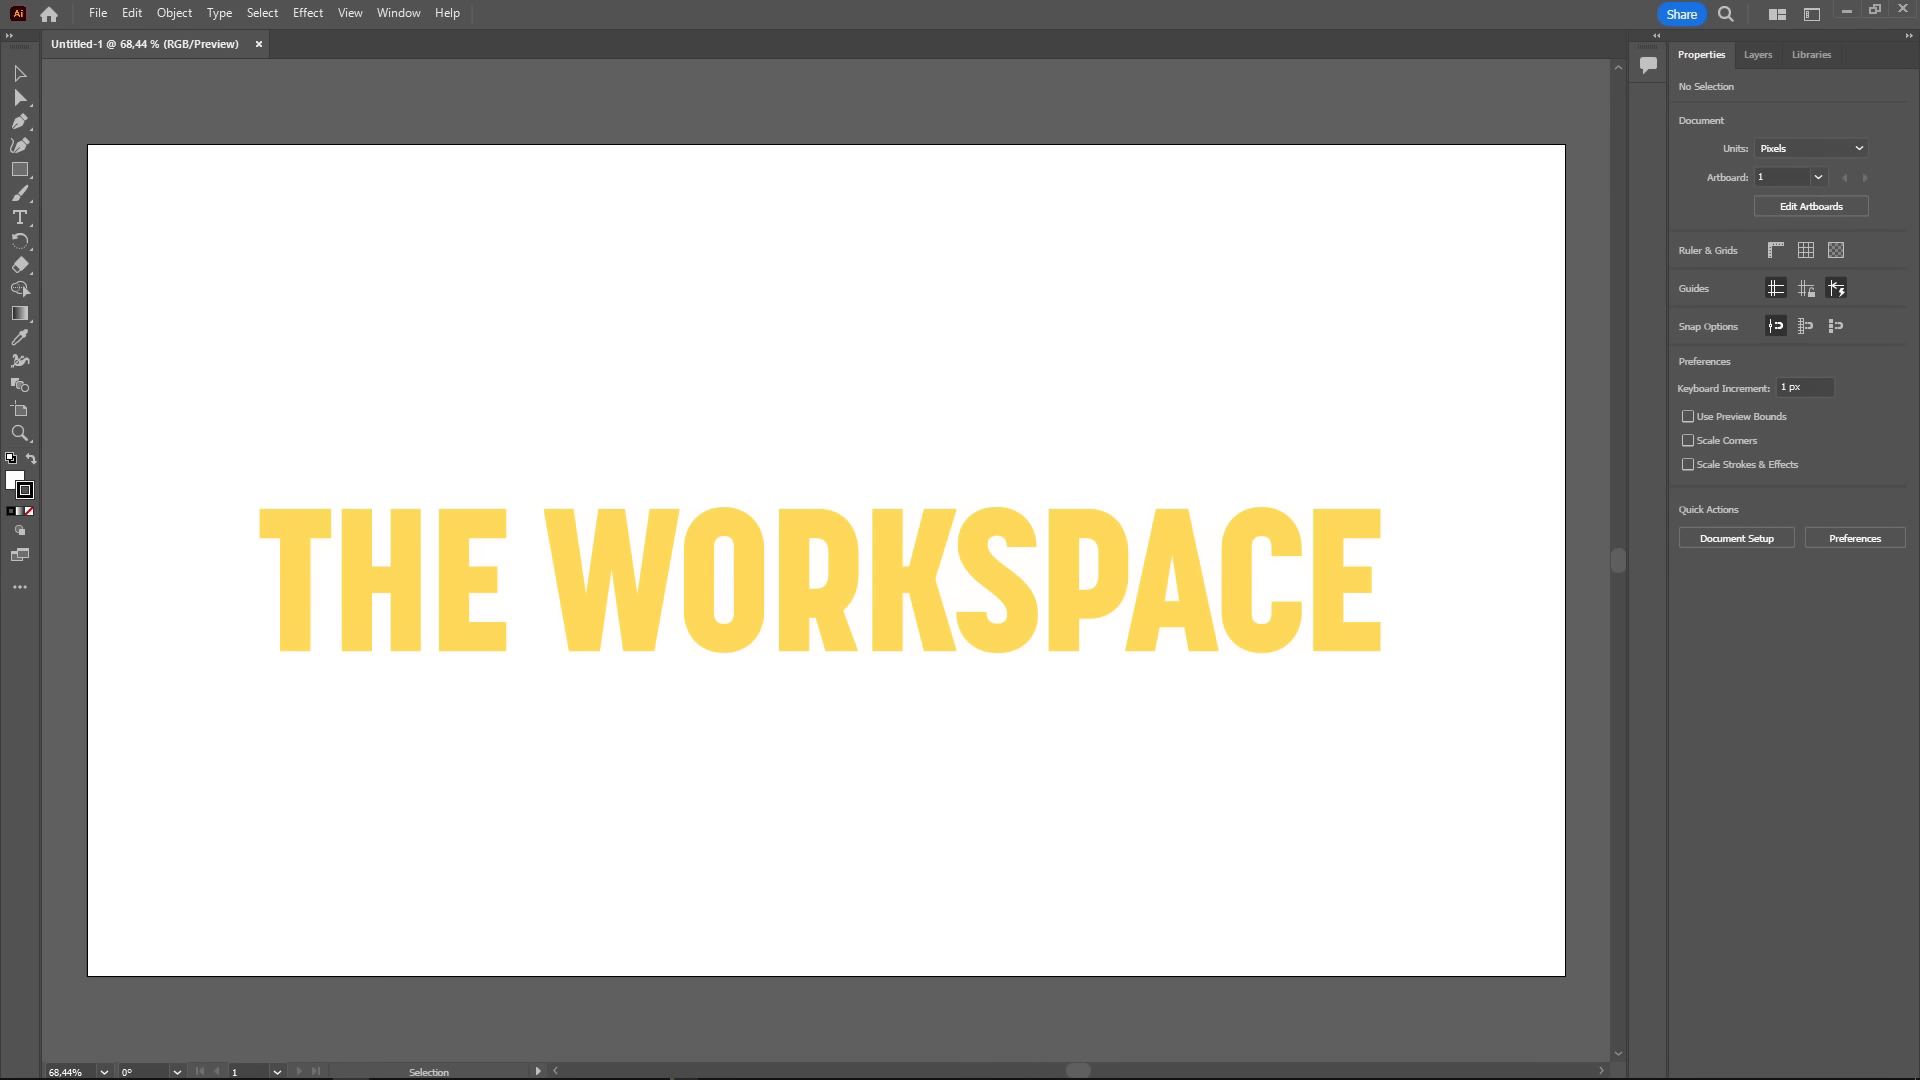
At the top, you’ll find the Header, which houses all the menus and commands. The Control Bar below it is context-sensitive, meaning it will change based on the tool or object you have selected. The Document Tabs allow you to switch between open files, while the Toolbar on the left provides access to Illustrator’s vast array of tools.
On the right side, you’ll find the Panels; these are where you’ll customize colors, align objects, and access advanced features. Be sure to explore the different panel options by clicking the sandwich menu in the top right corner.
Finally, the artwork is the central canvas where you’ll create your designs. You can have multiple artworks for a single document, making Illustrator a powerful tool for multi-page projects like presentations or brochures.
3) Creating Shapes and Paths
Now that you’re familiar with the workspace, let’s dive into the fundamental building blocks of Illustrator: shapes and paths.

To create basic geometric shapes, simply select the Rectangle, Ellipse, or Polygon Tool and click and drag on the artwork. You can also input precise dimensions by clicking once with the tool selected. Remember to hold the Shift key while dragging to maintain perfect proportions.
For more complex shapes, the Pen Tool is your best friend. With the Pen Tool, you can click to create anchor points and drag to add curves, allowing you to draw custom paths and shapes. This takes some practice, but mastering the Pen Tool will open up a world of creative possibilities.
Once you’ve created your shapes, you can use the Selection Tool and Direct Selection Tool to move, rotate, scale, and manipulate them with precision. The Direct Selection Tool allows you to edit individual anchor points and path segments, giving you complete control over your designs.
4) Harnessing the Power of Panels: Adobe Illustrator’s Design Anywhere
Illustrator’s Panels are where the real magic happens. These customizable windows provide access to advanced features and workflows that will streamline your design process.
The Color Panel is a must-have, allowing you to easily adjust the fill and stroke of your objects. The Align Panel makes it a breeze to position elements precisely, while the Pathfinder Panel lets you combine, intersect, and divide shapes in creative ways.
Perhaps the most valuable panel is the Properties Panel, which acts as a contextual extension of the Control Bar. This panel will dynamically update to display the most relevant options based on your current selection, saving you time and clicks.
5) Exploring the Illustrator Ecosystem
Mastering the basics is just the beginning of your Illustrator journey. This powerful software is part of the Adobe Creative Cloud suite, which means it seamlessly integrates with other industry-leading tools like Photoshop, InDesign, and After Effects.
Be sure to check out the Illustrator playlist on the channel for more in-depth tutorials and tips to expand your skills. And don’t forget to like, subscribe, and leave a comment if you have any questions; I’m always happy to help!
Conclusion
Congratulations! You’ve taken the first step towards mastering Adobe Illustrator! Remember to keep practicing, explore the Illustrator ecosystem, and don’t hesitate to reach out if you have any questions. Happy designing!
FAQ: Adobe Illustrator’s Design Anywhere
| Question | Answer |
|---|---|
| What is the difference between vector and raster graphics? | Vector graphics are made up of mathematical paths and shapes that can be scaled infinitely without losing quality, while raster graphics (like photos) are composed of pixels and have a fixed resolution. |
| How do I create custom shapes in Illustrator? | Use the Pen Tool to click and drag to create anchor points and paths, allowing you to draw any shape you can imagine. |
| What’s the difference between the Selection Tool and the Direct Selection Tool? | The Selection Tool is used to select, move, rotate, and scale entire objects, while the Direct Selection Tool allows you to manipulate individual anchor points and path segments within a shape. |
| How do I align and arrange objects in Illustrator? | Use the Align Panel to quickly align and distribute objects based on the artwork or your selection. |
| What is the Properties Panel, and why is it so useful? | The Properties Panel is a contextual panel that displays the most relevant options based on your current selection, making it a powerful tool for streamlining your workflow. |
Follow https://www.digitalpluto.co.in/ for the latest updates about graphic design.